VPN
54082496We are registering on the site www.digitalocean.com Here we will take the car for your VPN. On promo code DROPLET10 get 10 bucks, which will give you the opportunity to use the service for 2 months.
Create a Droplet, choose Ubuntu. The country of your choice. We choose the minimum fare for $ 5. Enable the public IPv6 option.
You will be given data for access via SSH. Connect to it. Who does not know how - google. Everything is very simple. I advise the program Putty.
Installing Pritunl
Having connected to the server via SSH, execute the command:
apt-key update && apt-get update && apt-get -y upgrade && apt-get -y install python-software-properties && apt-get -y install software-properties-common && add-apt-repository -y ppa:pritunl && apt-get update && apt-get -y install pritunl
Configure the VPN server in the web interface
Open in browser
https://your_server_ip:9700
It is proposed to configure the path to the database.

Just click “Save”. A login window will open.

Use:
Login: pritunl
Password: pritunl
After login, you will be prompted to change the password (which is highly recommended).
Everything else is left by default:

After filling out the form you will be taken to the control panel. So far, there are no VPN users in the system.

Go to the "Users" section.

Add organization.

Now add a user.

It's time to finally create our VPN server. Click on the "Servers" button.

Click “Add server”.

Enter the name of the VPN server by simply entering the server IP there. You can configure DNS, choose how to use VPN, allow multiple devices to connect at the same time, and even use two-factor authentication with Google Authenticator.

Now attach the organization (with all users) to the VPN server by clicking “Attach Organization”.

We are already offered our organization and VPN server. Just hit "Attach".

All is ready! Click “Start server” to start the VPN server.

Our VPN server successfully launched!

Now it remains only to download the OpenVPN configuration file for the user.

Configuring OpenVPN clients
You can use any OpenVPN client to connect, including setting up a connection from a router, if it supports OpenVPN (for example, Mikrotik). We will look at ways to connect from the desktop.
Setting up an OpenVPN client on Windows
Download the OpenVPN client for Windows from here.
Install the client with default settings. In the process, agree to install the OpenVPN driver.
Then download the OpenVPN configuration file from the users section of your VPN server:

Install 7zip and unzip the downloaded tar file.

Copy the .ovpn file to the directory
C:\Program files\OpenVPN\config
Launch from the desktop with OpenVPN Gui admin rights (in the properties of the shortcut, you can set the launch with admin rights permanently).
In the system tray, right-click on the OpenVPN shortcut and select "Connect".

The connection is successful.

Setting up an OpenVPN client on OS X
Download Tunnelblick from here and install it.
Download the OpenVPN configuration file from the users section of your VPN server:

Install The Unarchiver to unpack the tar file without opening the terminal.
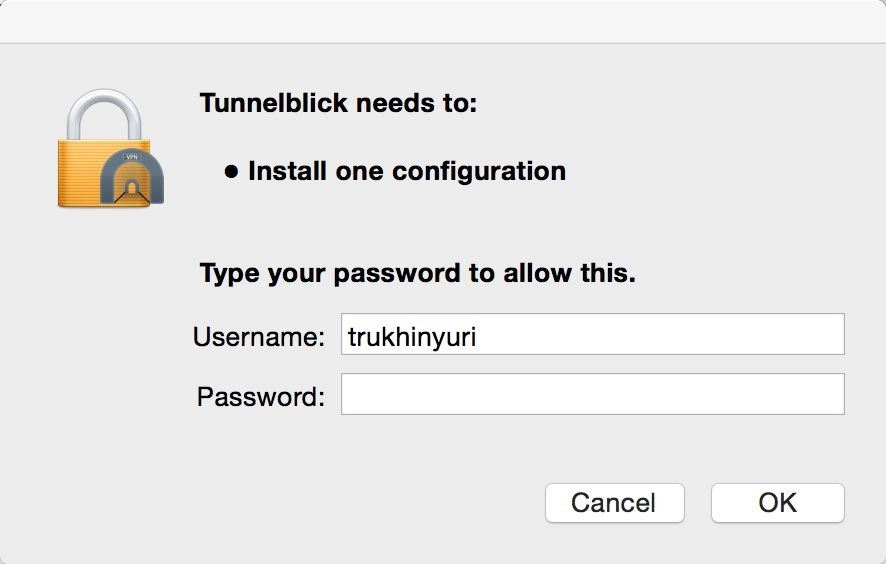
Unzip the tar file. Then double-click on the .ovpn configuration file. Allow the use of the configuration file only for yourself or for all users (optional).

Enter the administrator password.
In the menu bar, click on the Tunnelblick icon and select “Connect”.

The connection is successful.
