Gcam
Ippo cratisGoogle Camera setup
@rz_end Instagram ID and TelegramFebruary 24, 2019
GCAM settings are essential, and for you to understand what each function represents I will make a manual as complete and objective as I can.
I will build on Gcam 6.1 XCAM Beta 19
Link on GcamBrasil Group
Portal under construction !!!
However, most versions 6.1 have the same interface. So if your device uses a different version you can use this same manual.
Let's go to what matters ...

1 - Final JPG quality (final jpg quality)
This represents file compression. A smaller JPG contains less information. An image is building by a set of information. for a quality image i recommend leaving at 100% consequently we will have bigger photos with bigger MBs
2 - Exposure Compensation
Just like in professional cameras and also present in mobile cameras. That little arrow you drag up or down when you use touch focus on the screen. Which makes the image lighter or darker. This is the function of this tool. You can opt for slightly lighter or darker photos. This will depend on the situation and the ambient light. Test and find a value that pleases you.
I particularly like to use exposure compensation in night shots. By day I don't think it's very good.
3 - Saturation
Here as its name implies, you can hire color saturation. Usually the default value already gives us a well-balanced saturation. But you can adjust it any way you want. In both rear and front camera. Just change the values. The higher the more saturated the image. It comes in 2 steps. Highlights and Shadows.
I usually don't change the default value
4 - Noise Reduction
An excellent tool and little explored by users. Here you can control photo noise reduction. Too aggressive is bad as well as too weak. The pattern is well equalized. I personally change some values. I narrowed down a bit to have a little more structure in my photos. Do not look that soft. In other words, smooth. Below is the print of how I change the values.

Use it this way in both photos.
5 - Libs (Libraries)
Simple explanation
Google Stock (Pixel 3) - Enhanced colors / contrast with more noise and less sharpness.
Xlib V2 - Natural colors / contrast with less noise and more clarity.
Quick Explanation about each Lib.
Stock Google - Saturated pattern, and less harsh light and shadow highlighting at first glance may look good, but in most cases may not be what you need.
Xlib V2 - is configured with the features of iPhone XS in HDR. Personally, I like the Lib of the standard pixels (Stock Googgle) more, because it doesn't suppress shadows and supports natural colors, like iPhone XS, combined with the Pixel HDR + algorithm. It's like the best of both worlds, but feel free to try it.
Eszdman - looks almost the same compared to standard Lib, but has better shadow detail, which can positively / negatively affect contrast depending on the scenario.
Savitar - Natural colors, but slightly less detail in the shadows compared to the Xlib V2. Has a high grain in lowlight personally not like.
If your GCAM does not have Xlib I recommend using Eszdman.
Advanced Modules
Camera Resolution - Rear and Front
As we use a ported Pixel application we will naturally have the limit of Mega Pixels that the device has.
Although in 99% of cases the image quality does not depend on the amount of MPX
I always use at full resolution, in my case 12MP rear and 5MP front . 4: 3 format not to crop the sensor. This way you will use the maximum capacity of the sensor.
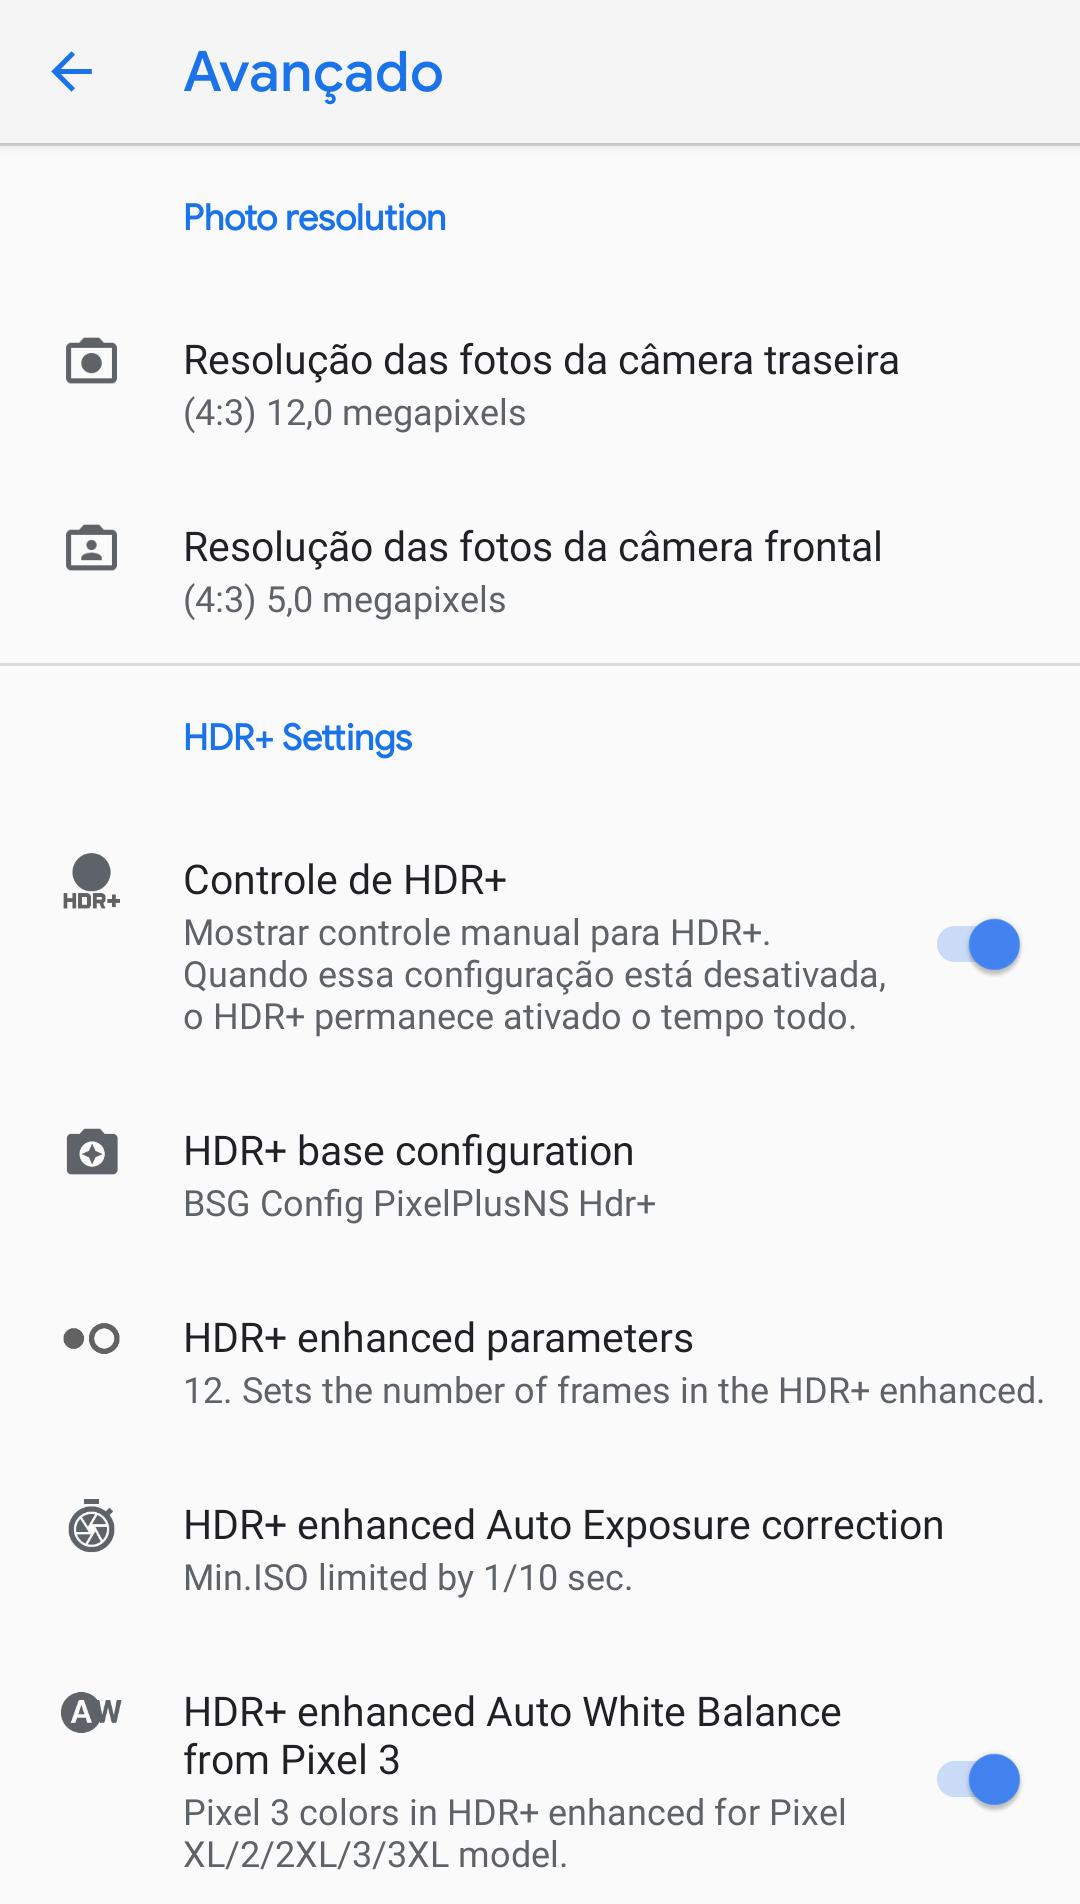
HDR + Control
This is nothing more than the button to switch between HDR off, HDR and HDR + Enhanced on the Liveview screen (where we take the pictures.
HDR + Base configuration (Base of the HDR + configuration)
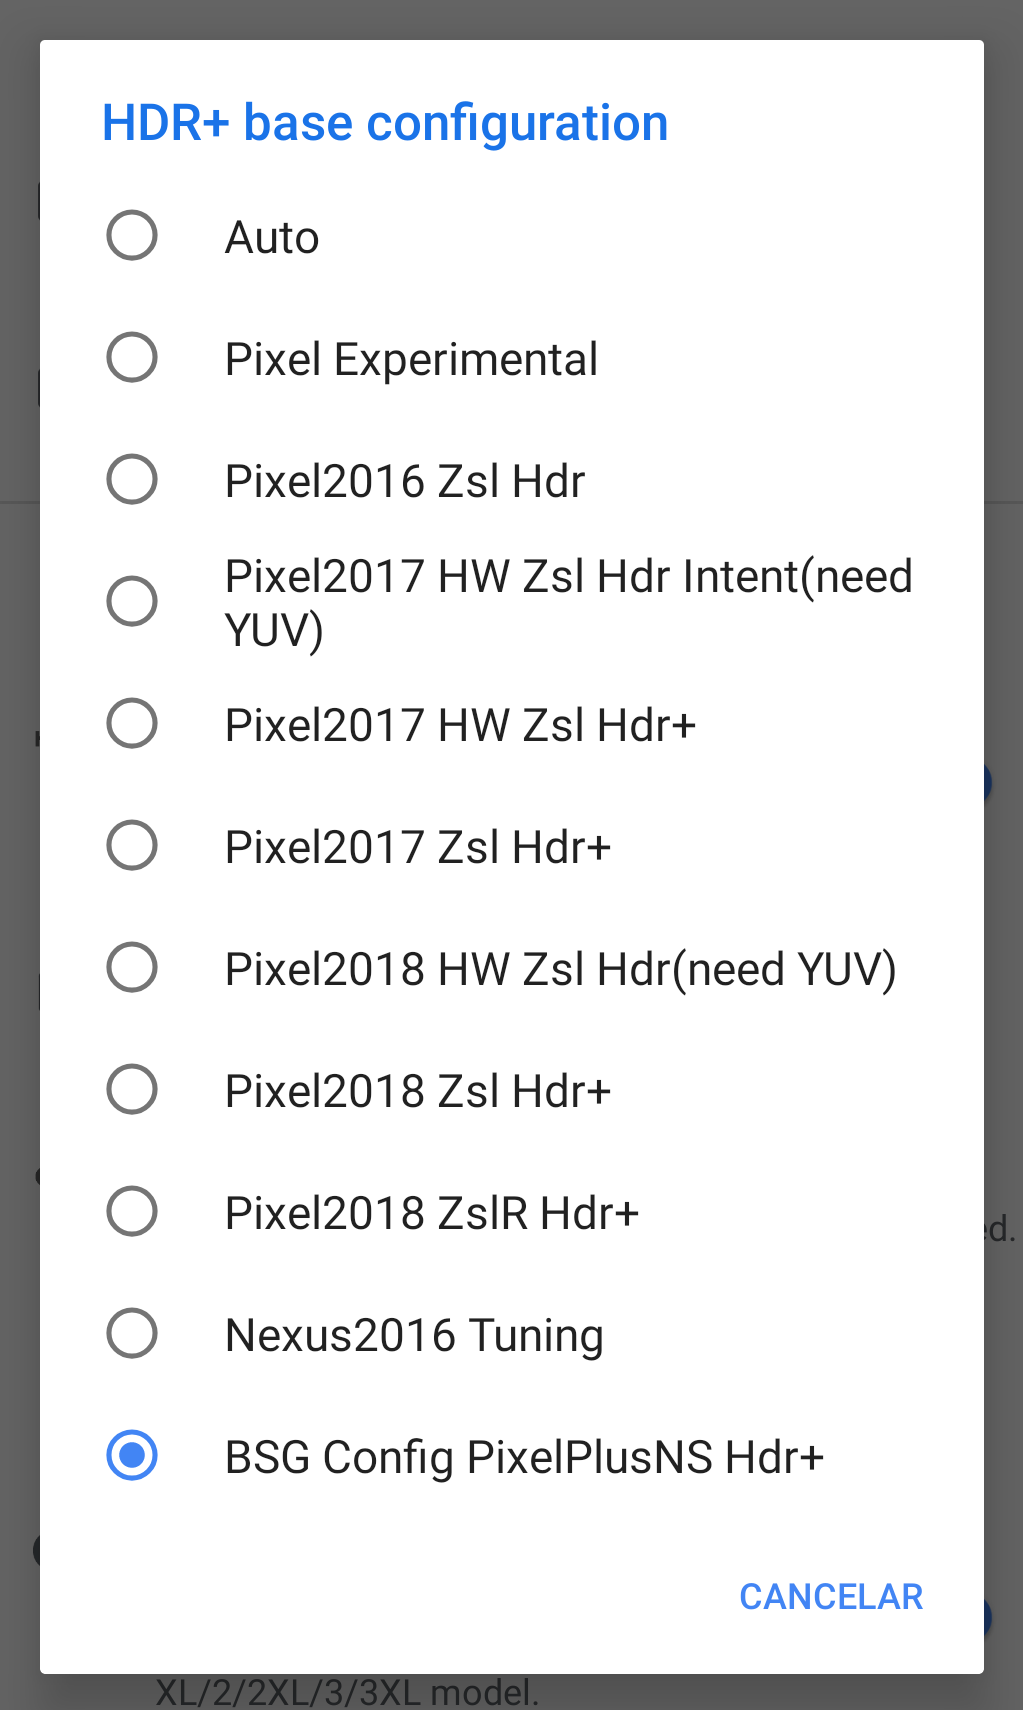
Well, as we see, it is pretty clear what devices each of them is based on.
ZSL = Zero Shutter Lag, no trigger lag.
HW ZSL = ZSL Hardware, forces the use of hardware in HDR processing. Faster photos. But it does not have the same quality. I believe it is based on the visual core. As we do not have this chip I discard this alternative.
I use BSG Base which consists of using the same algorithm as Night Sight. Which has a very good exposure and gives a lot more clarity to the photos.
I Also Recommend Pixel 2017/18 ZSL HDR +
It is an open range for you to test and see which one you like best.
HDR + Enhanced Parameters ( HDR + Parameter Configuration)
Here you control how many frames
Do you want to combine in HDR +
The higher the frames, the more levels of detail in the shadows and highlights.
But it takes more time to process and capture photos.
If you really want fast photos:
7 to 9 frames
Still fast but better quality photos
9-12 frames (used in my Quick Profile)
As you go up these values. More details in the photos you will get. But it will take longer to take and process.
HDR + Enhanced Autoexposure Correction (HDR + Exposure Correction)
Here you will control the exposure of the photo.
Just like in cameras or manual mode.
For faster photos use faster exposures
Ex: I need to freeze movements 1/100 1/50
However this influences the quality of the photos as well.
Dirante the day is quiet you can leave at 1/33 (also included in my Quick profile)
They are very fast photos, and have excellent quality.
However at night I recommend reducing this to 1/20 or 1/10 to photograph people
And 1/08 1/06 to photograph objects and landscapes.
Notice the smaller the slower shutter value. And you can't move your phone until the thumbnail appears in the corner of the gallery icon. The lower the value. Hold tight for longer.
This will bring you excellent results at night.
HDR + Enhanced White Balance 3 Pixel (Pixel White Balance 3)
Here if you check the white balance control you use the Pixel 3 algorithm even if your base is Pixel 2 or 1 in the settings.
This is very personal, there are people who like warmer, cooler photos. Feel free to test.
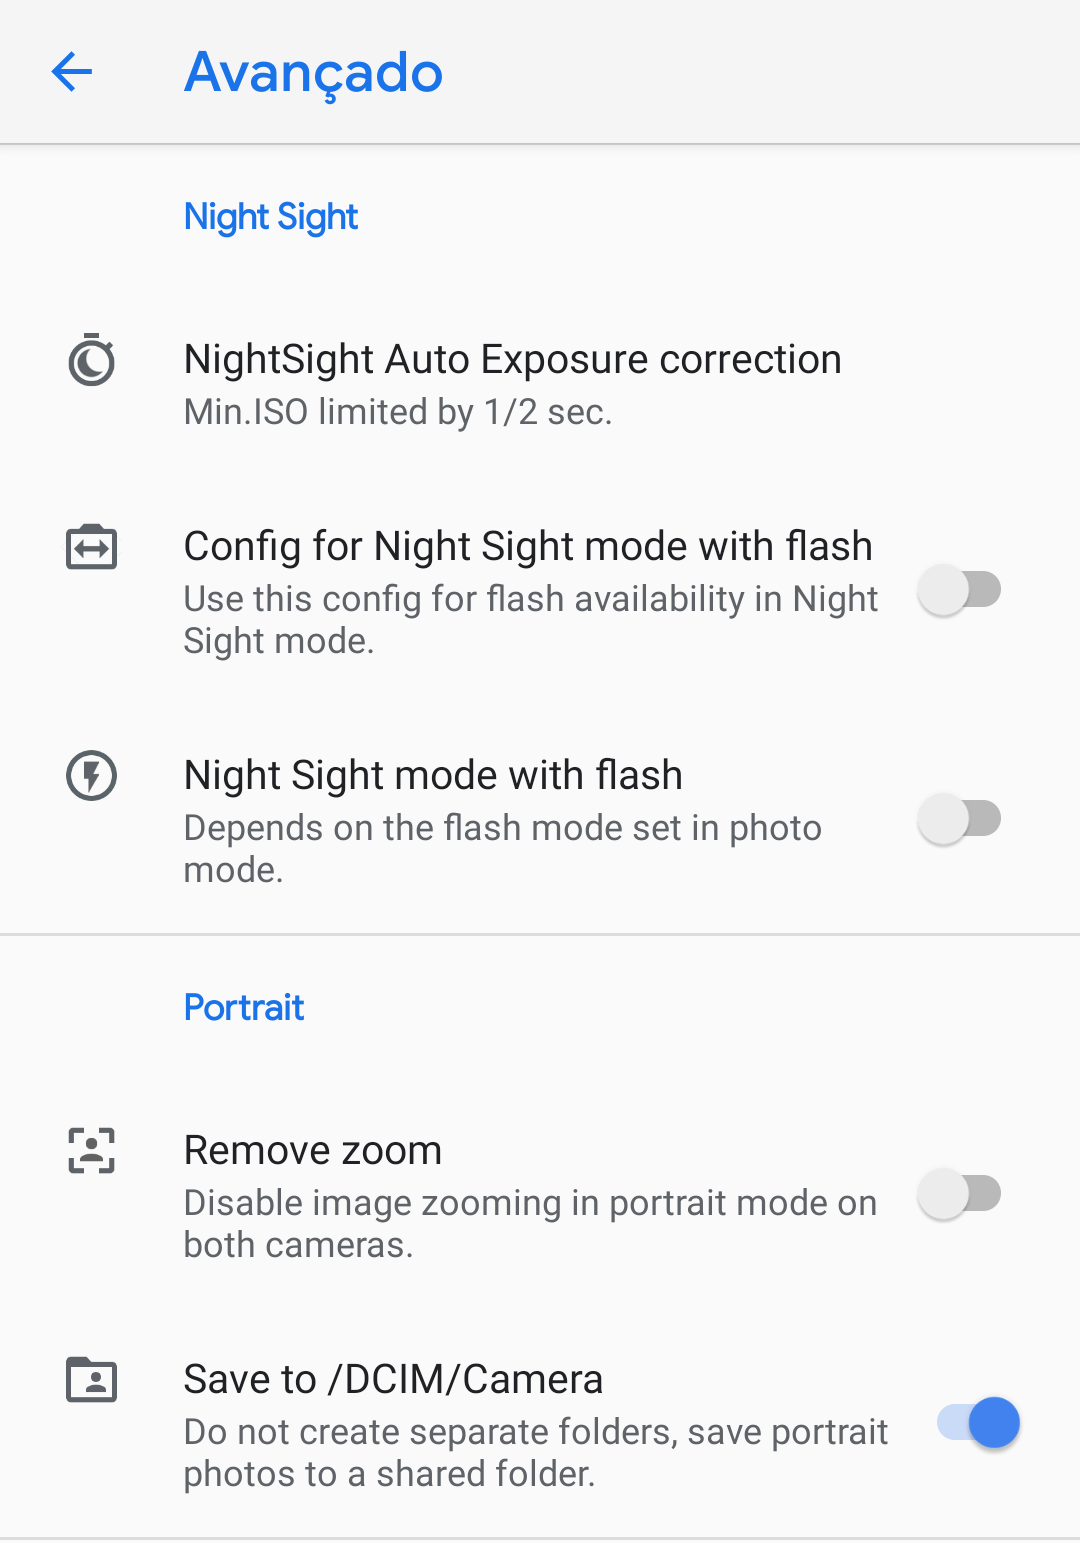
Night Sigh (Night Vision)
Well this is a great Pixel asset, behind the possibility of literally seeing in the dark. OK everyone knows. Let's go to what matters.
NightSigh Exposure Correction
It consists of the same parameter as controlling the shutter that I explained above. But using the NightSigh algorithm and not the HDR +
Night Sigh is much slower to photograph and form the image. That's why the photos are so clear and capture much more light.
I recommend leaving it at 1/2 slower than this using a tripod. Because surely the photos were blurred.
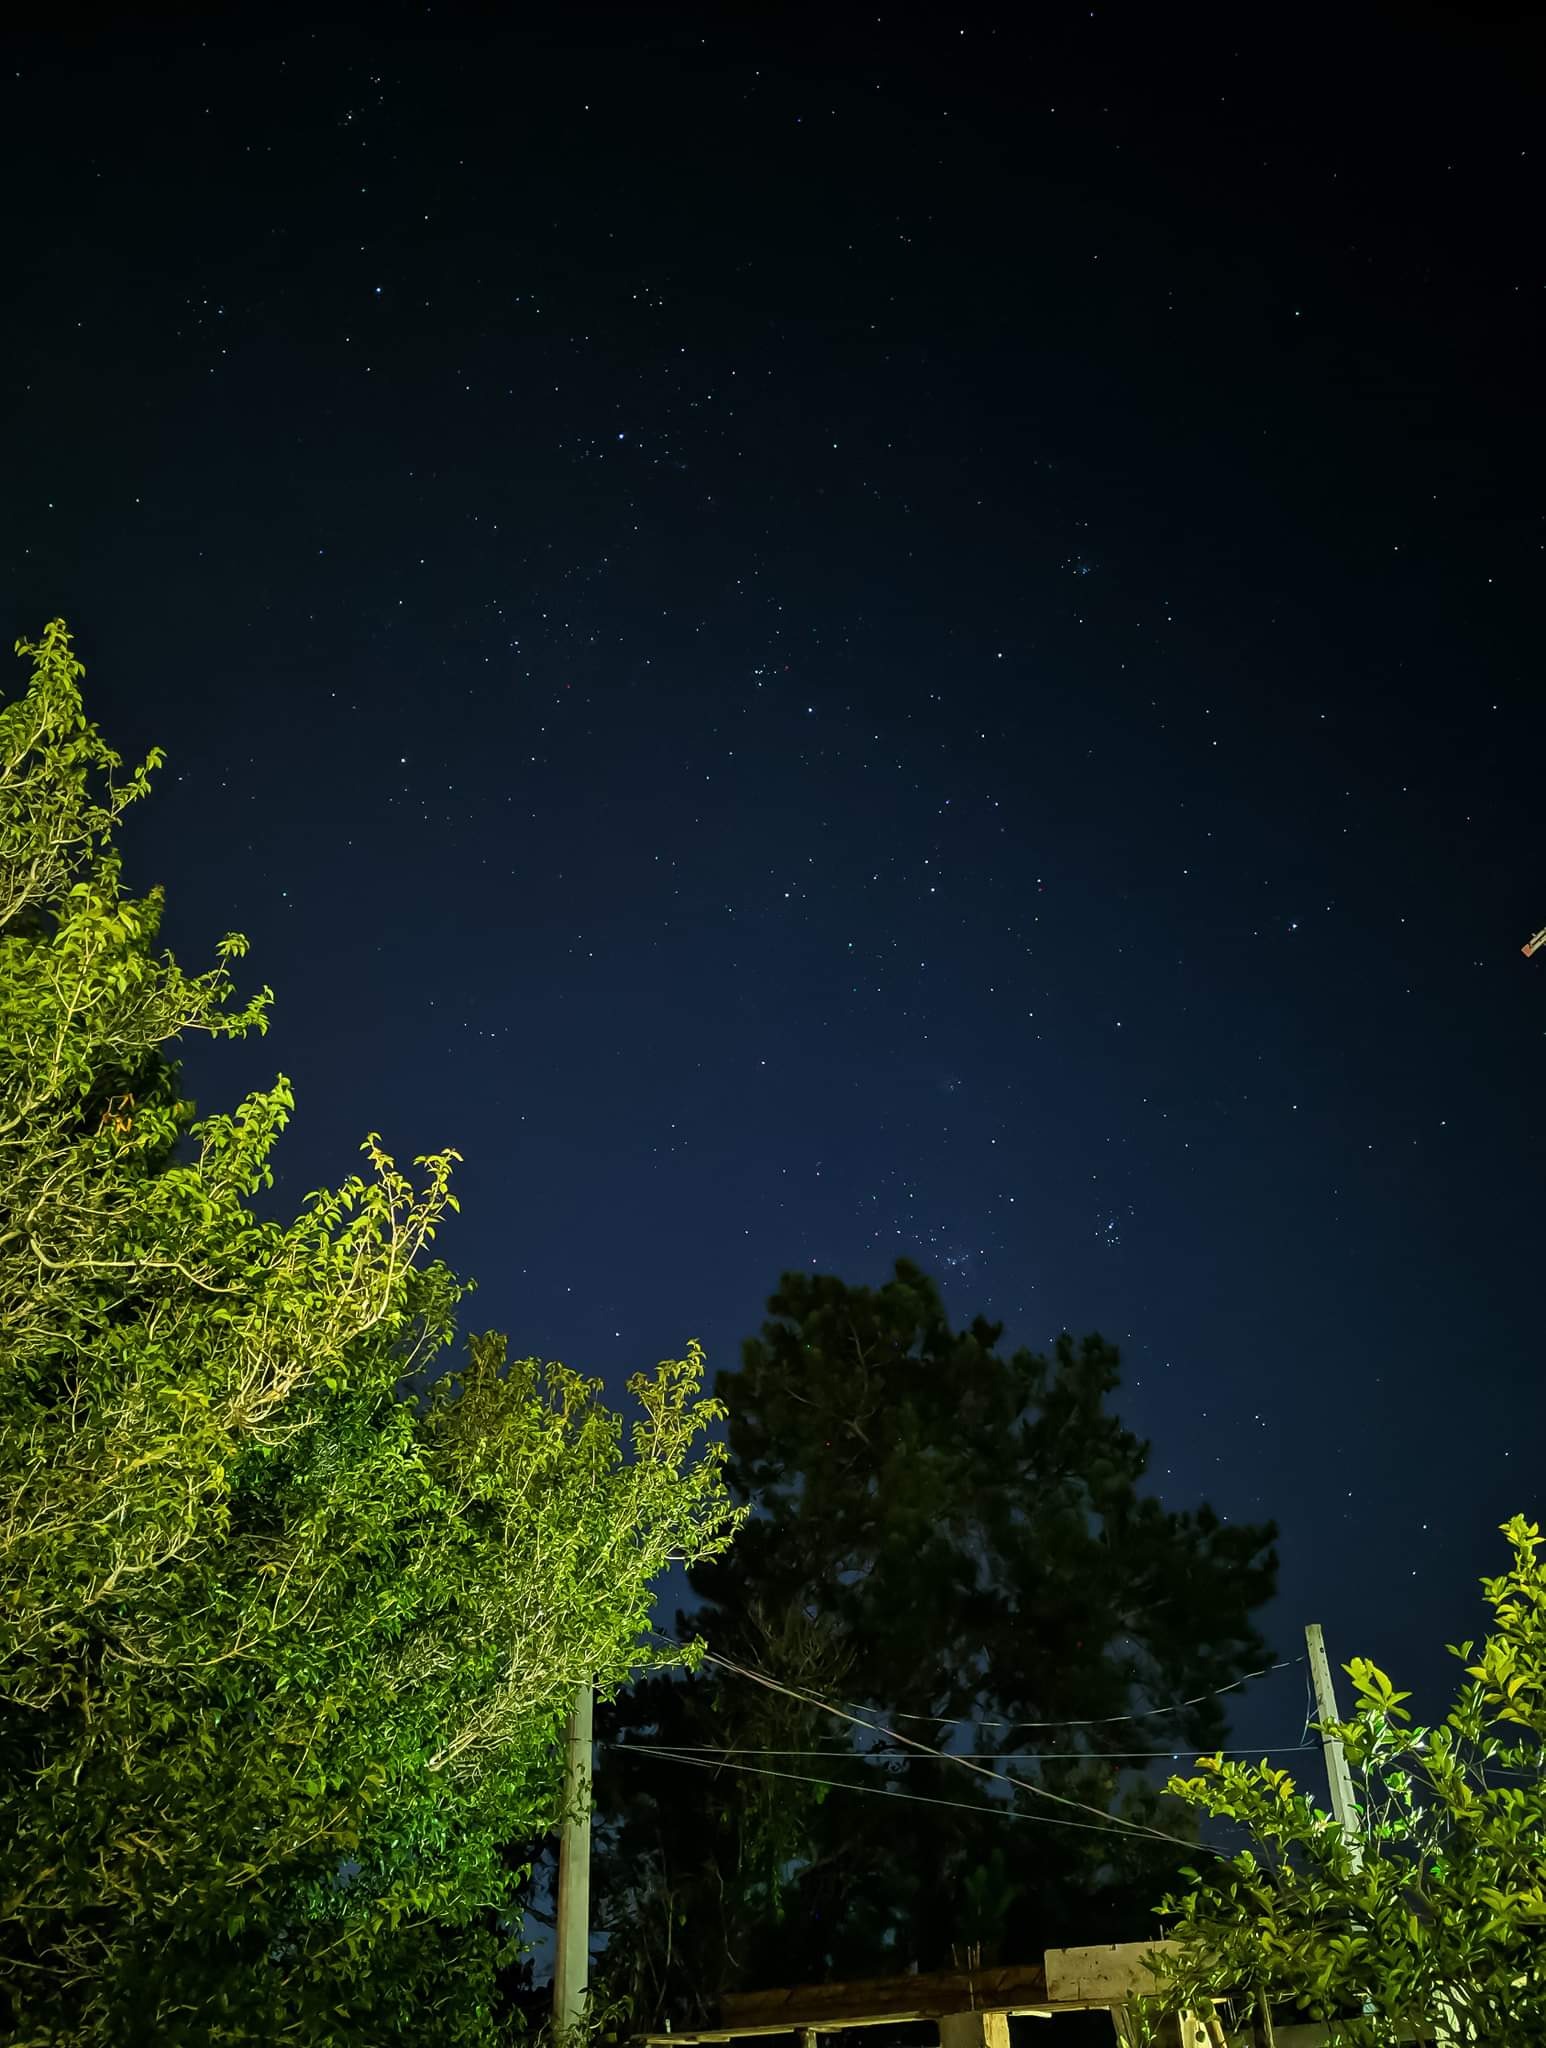
Some versions of GCAM have up to 30 seconds of exposure on Night Sigh. For those who enjoy long exposure is very cool I will leave a sample photo.
NightSight with flash.
In these other 2 functions basically serves to use the flash to assist lighting. Personally never used it.
Below is an example of Long using NS.
Portrait Zoom and Save to DCIM
Here you will enable zoom in portrait mode or not. I am a photographer and portrait artist. For the picture a portrait needs to be the way we see people. What else does that have to do?
If you remove the zoom you will use 28mm focal length and the person's face gets narrower. Personally I find it horrible.
With zoom it emulates 50mm which is the same way our eyes see people. A little flatter than 28mm
It is up to the user to enable zoom or not.
The other option is just to save GCAM photos in the same folder as the stock camera.
Does anyone use stock having gcam? Hi?
Hahahaha I do not. Unless it is something very specific.
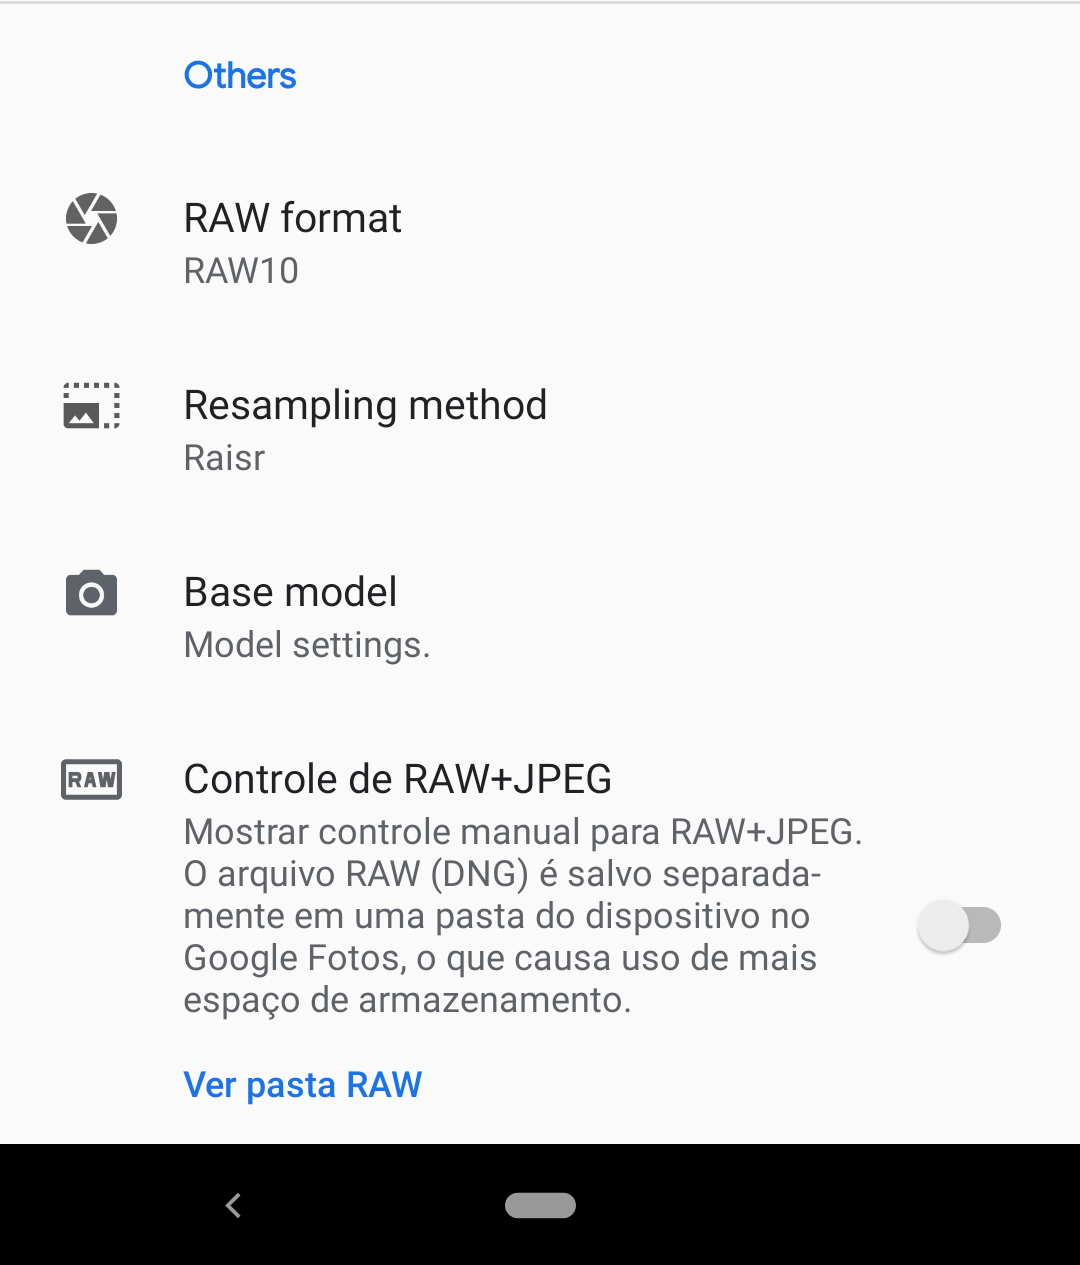
RAW format (RAW format)
Well, every company has its own way to process RAW and turn it into JPEG
RAW is nothing more than the raw file captured by the sensor.
Some devices need to use RAW10 in case mine, Xiaomi Mi A2
Others need to use RAW SENSOR usually Samsung Note 9 S9 and these tops of the moment.
It's more like knowing what my device needs. Easy!
It won't work with Gcam if it's in the wrong model. Or it can work and stick with Lag. This is still a bit confusing for me. So I limit myself here.
Base model
Well here is where you will define which device you will want to use as a base for capturing
I use Pixel 3 on the back and Nexus 6P on the front.
Because it's the only one that doesn't turn green. It may vary from device to device.
If your photos are purple or green try changing the base.
Resampling Method
Well here we have 3 alternatives
Lanczos
Raisr
None = Off
The only thing I know about this is that Raisr is the method used by Google's artificial intelligence. It seemed cool and I use it like that. I can't tell if it interferes with the quality of the photos.
It's a subject I've been researching and honestly didn't find much. Maybe because I was too lazy to read. Maybe one day I go deeper into it and update it here for you.
RAW + JPEG Control
This trigger is to enable RAW saving of captured photos
I do not leave off. Why? RAW is not better for photo editing?
Yes RAW is the best choice for image editing.
But we use Gcam because of its excellent image post processing.
So what's the point of wanting RAW as it only uses GCAM because of the post processing it has ?! Meaningless does not agree.
Good believe the other functions. They are very intuitive and need no explanation.
Like for example
Shoot in FHD or 4K
However some devices do not support 4K even if the screen goes black in the part of videos. Go back to FHD in the settings.
Grid
Maximum brightness when liveview is open.
These things are at the discretion of the user.
That's it for now. For those interested in learning how to configure Gcam here is all you need to know.
For the lazy I'll leave the pack with my profiles on the site and also in the Telegram group.
To apply the profile will have a specific tutorial.
Thank you guys!
If I helped you in any way and want to repay
Follow me on Instagram
Pack with my configuration profiles