Windows 10 Change Network To Private

👉🏻👉🏻👉🏻 ALL INFORMATION CLICK HERE 👈🏻👈🏻👈🏻
Resources Windows 10 Change Network Type in Windows 10
Windows grants users privileges to select a network type (private, public and domain) when a new network is connected to the computer. And private and public are two common types we usually use to change the network connection. If you really need to change network type from default public to private in Windows 10, please learn about them at first and then follow 4 ways to do.
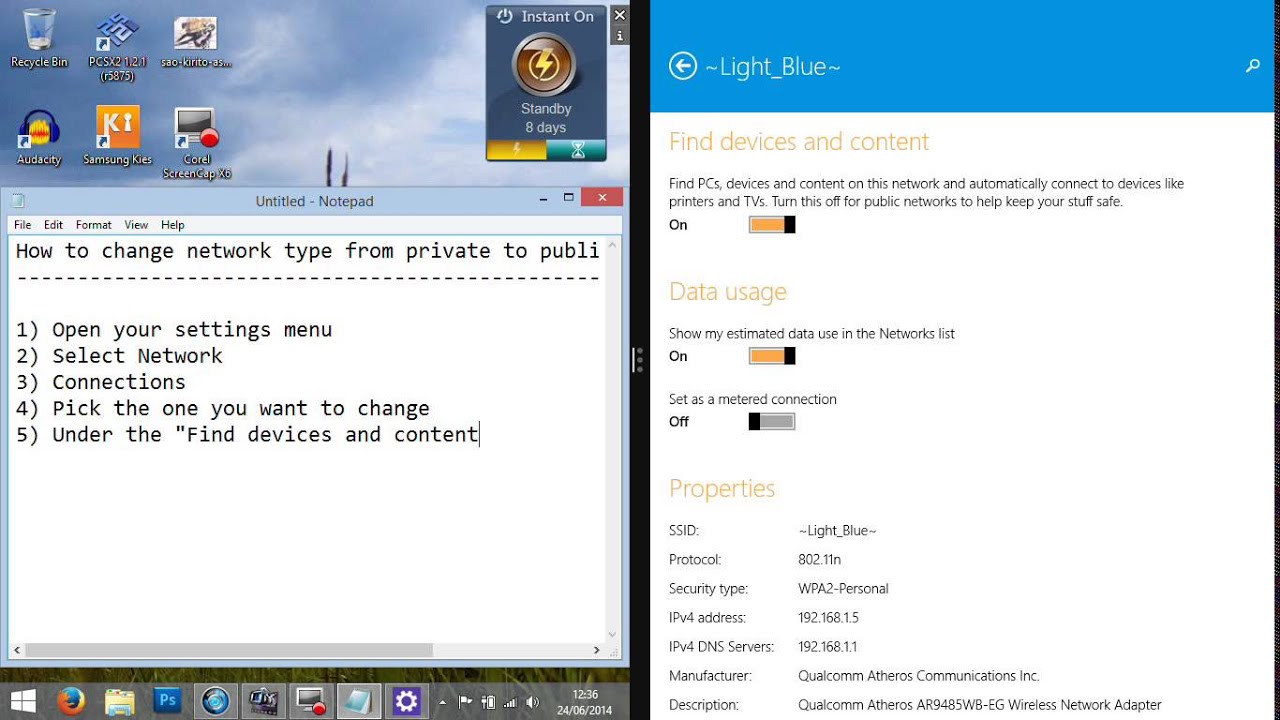
What's the difference between public network and private network?
You can select this type of network to refuse to communicate with any other network device or when you have only one computer in this network. Surely you don't need to change the network type generally to public at most of time because default network type is public network.
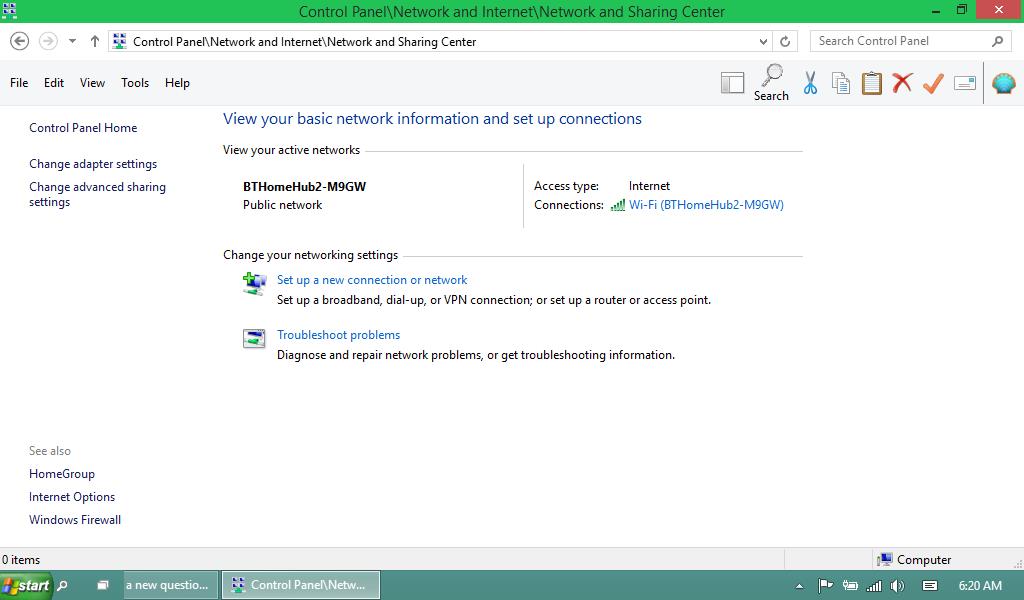
While network is public, Windows Firewall will use the Public network type rules to make your computer the most restrictive. It will help to block most of the apps from connecting from the Internet and disabling some features, such as file and printer sharing, network discovery and automatic setup of network devices etc.
Use this network if you trust the network you are connecting to. And it is usually selected when you are in home or work network. You can share file, setup network device and network discovery etc when you select it.
So do you want to make network private when it is connected to your computer? If you do, please go on to follow the article.
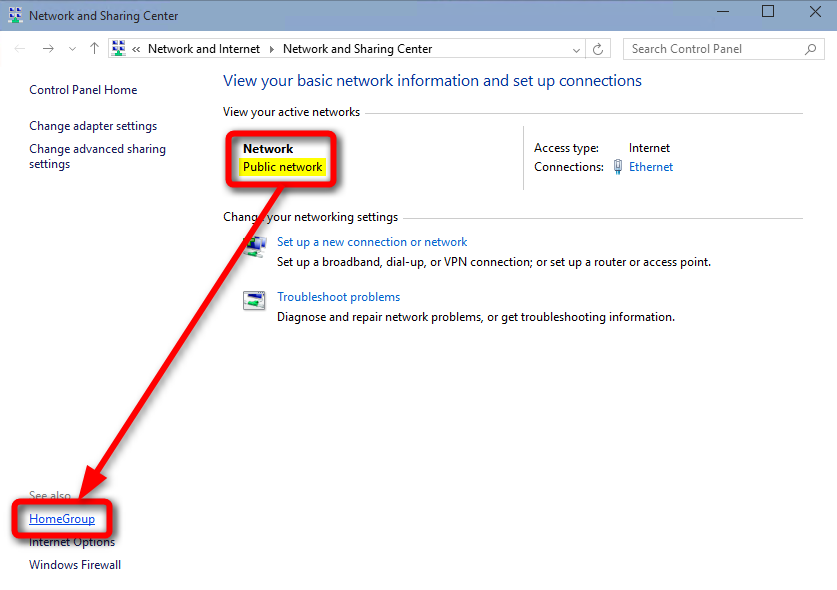
Step 1: Go to Control Panel Network and Internet HomeGroup.
Type "homegroup" in Search box and press Enter to find "HomeGroup" in Control Panel. Click it to open HomeGroup.
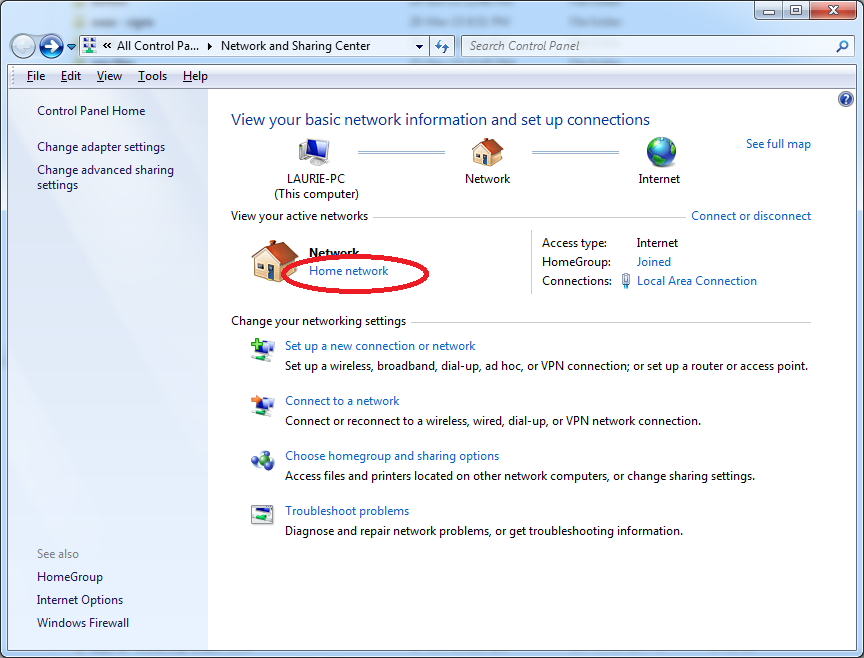
Step 2: Click on Change network location link.
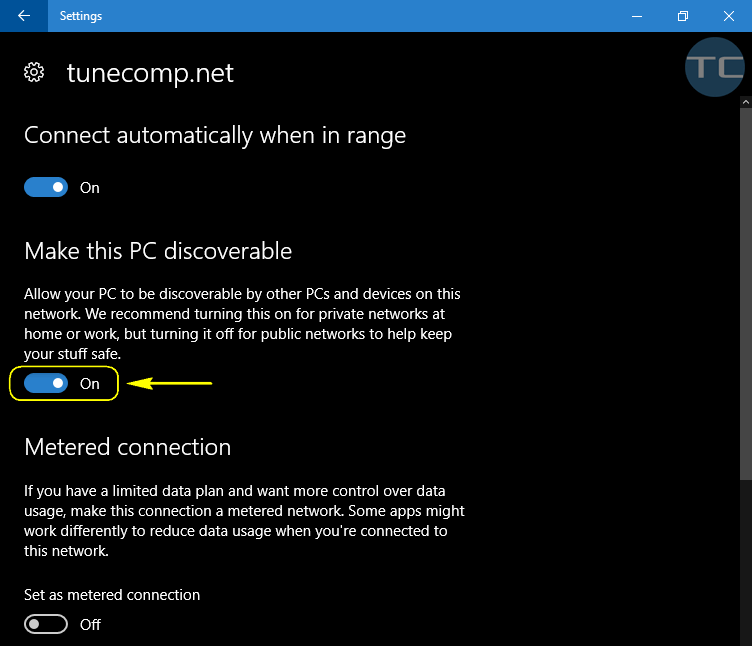
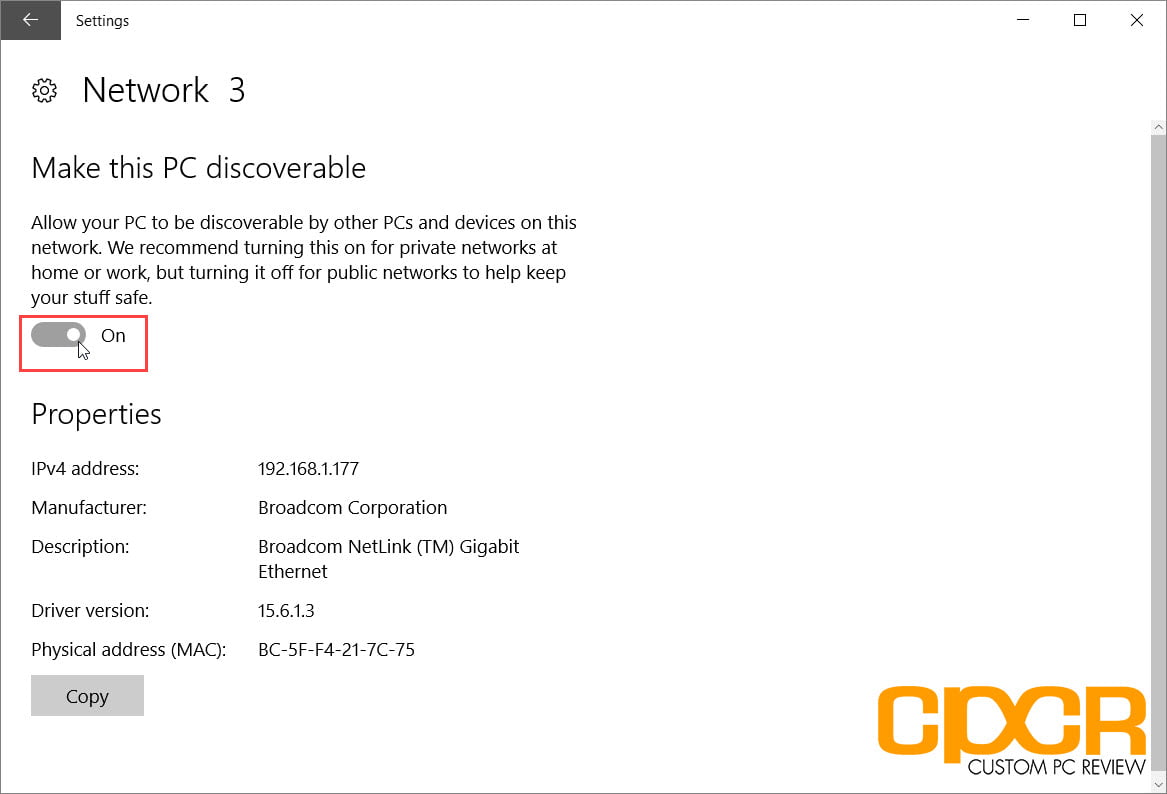
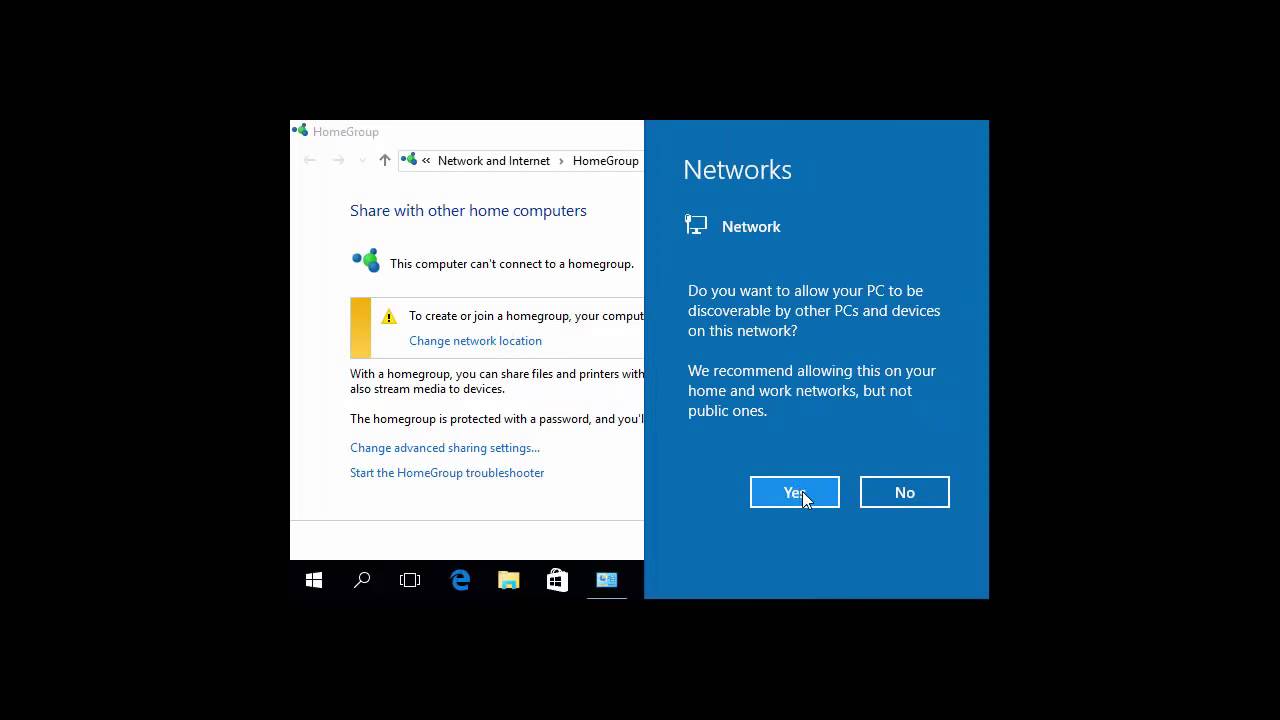
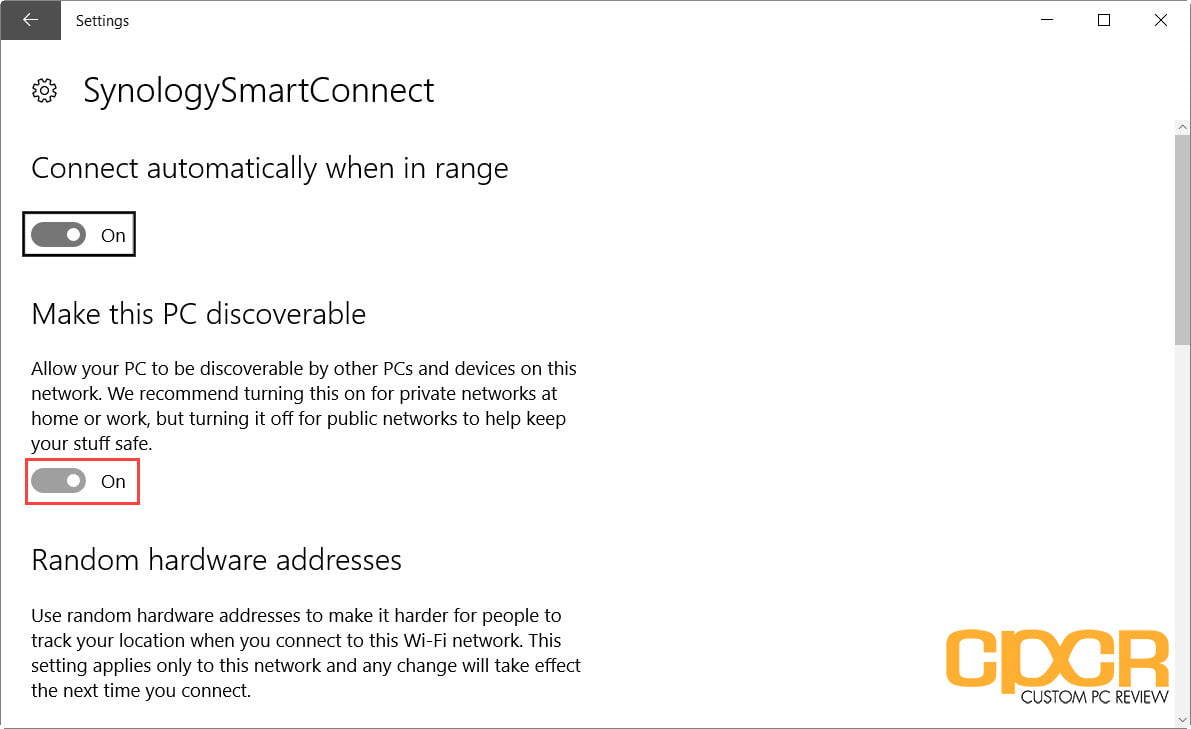
Step 3: This will open a charm dialog to ask you that "Do you want to allow your PC to be discoverable by other PCs and devices on this network?"
Click Yes button if you are sure to set your network to Home or Work.
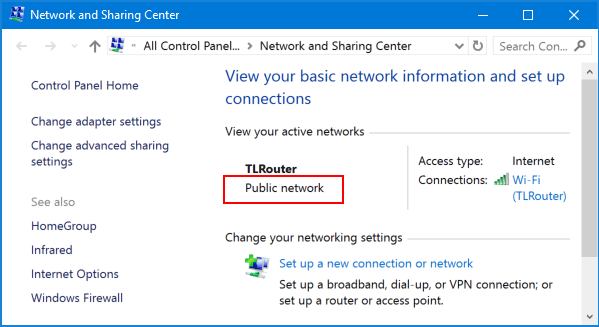
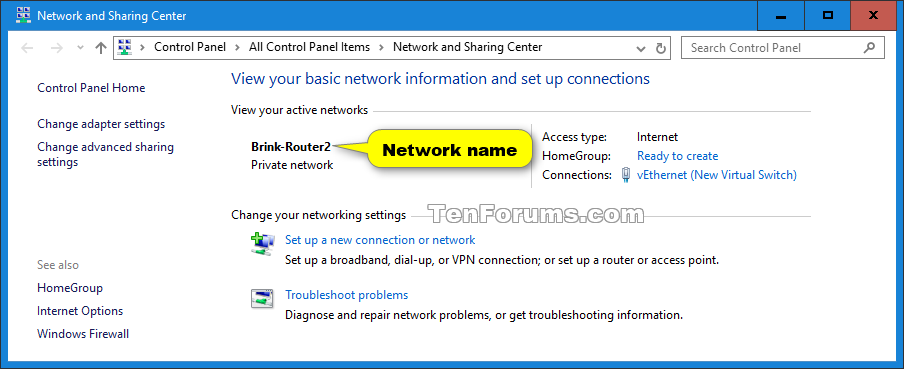
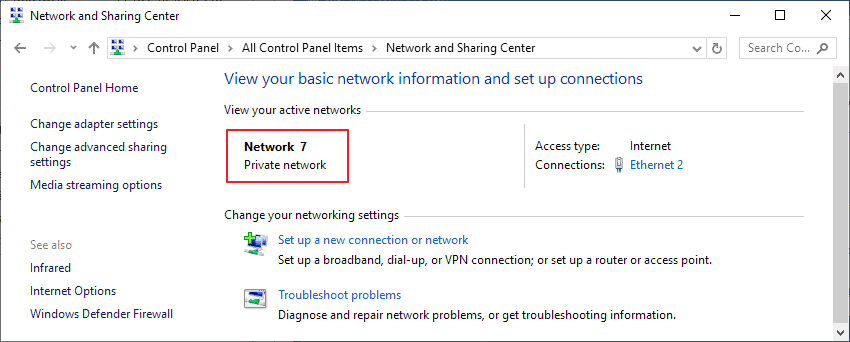
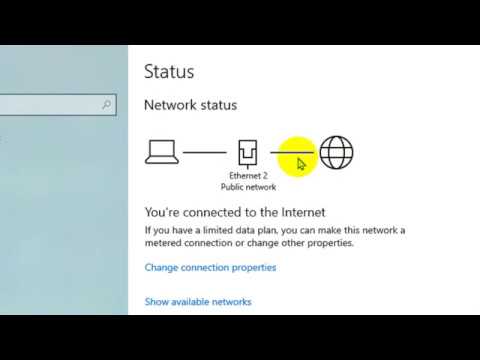
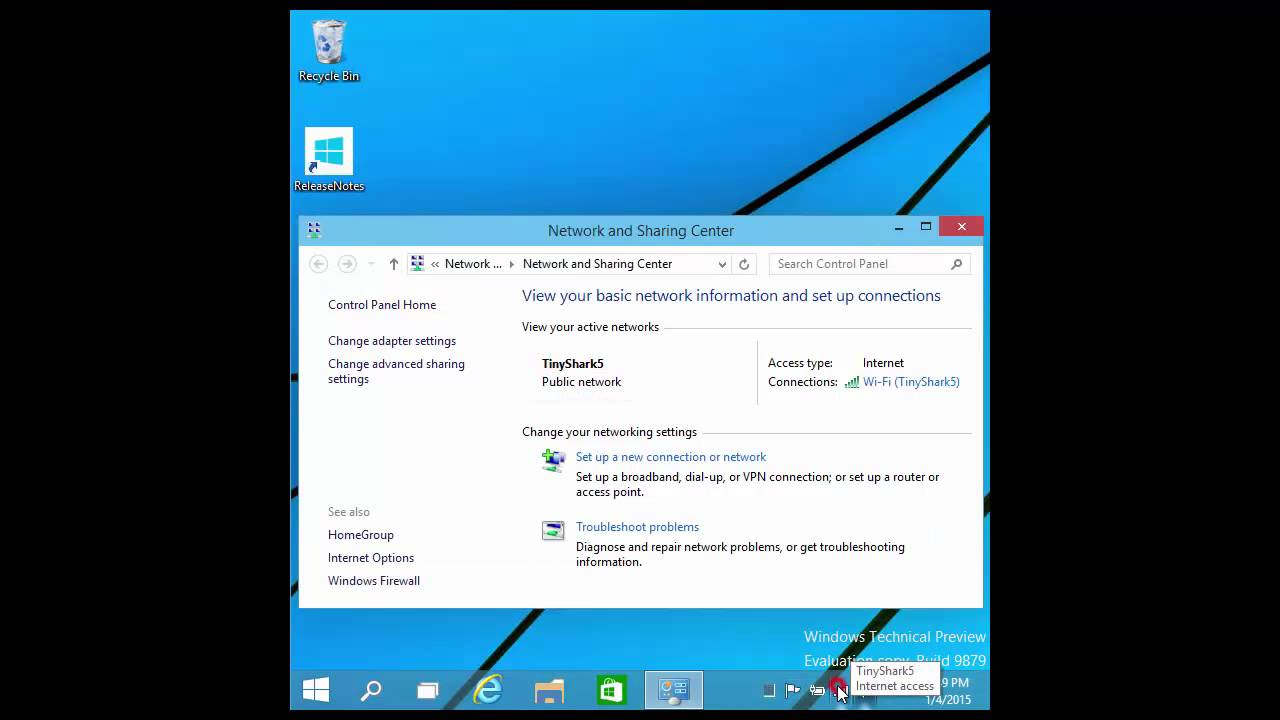
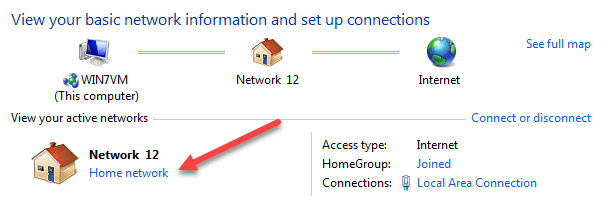
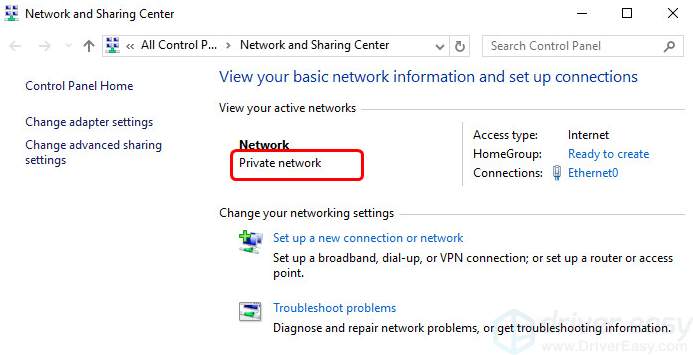
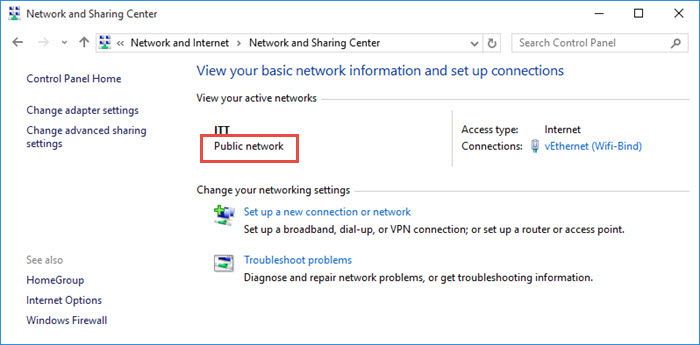
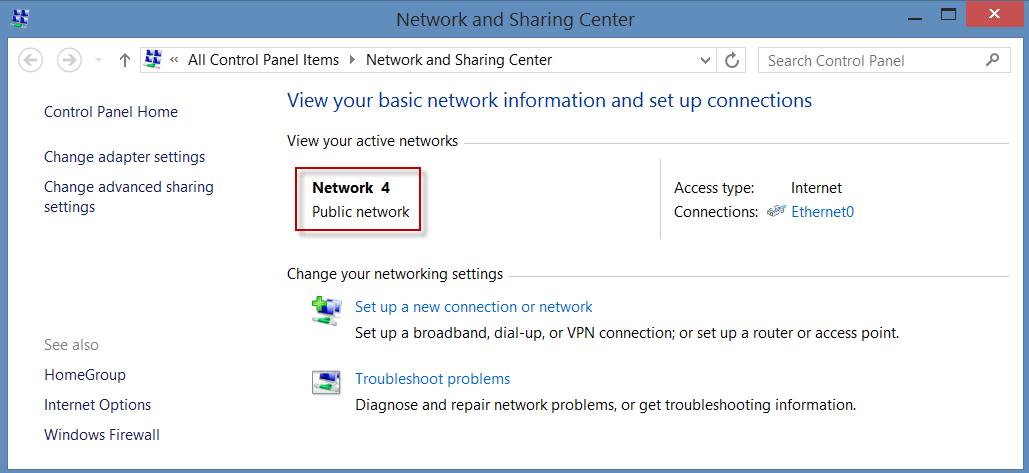
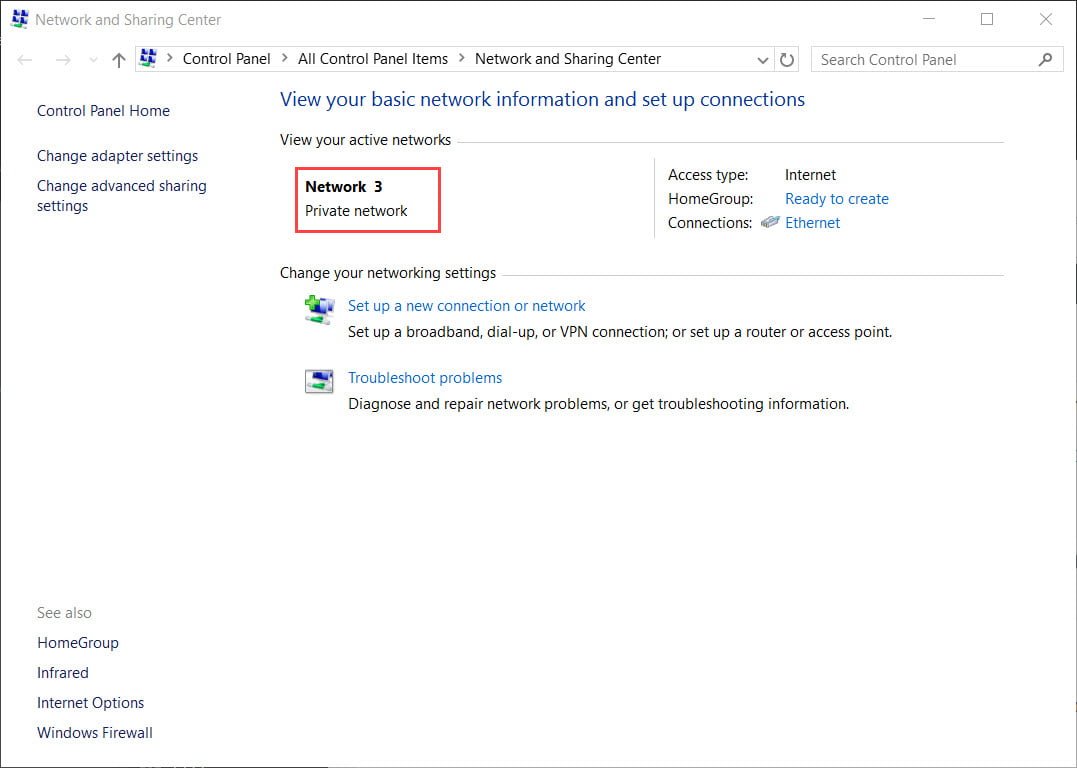
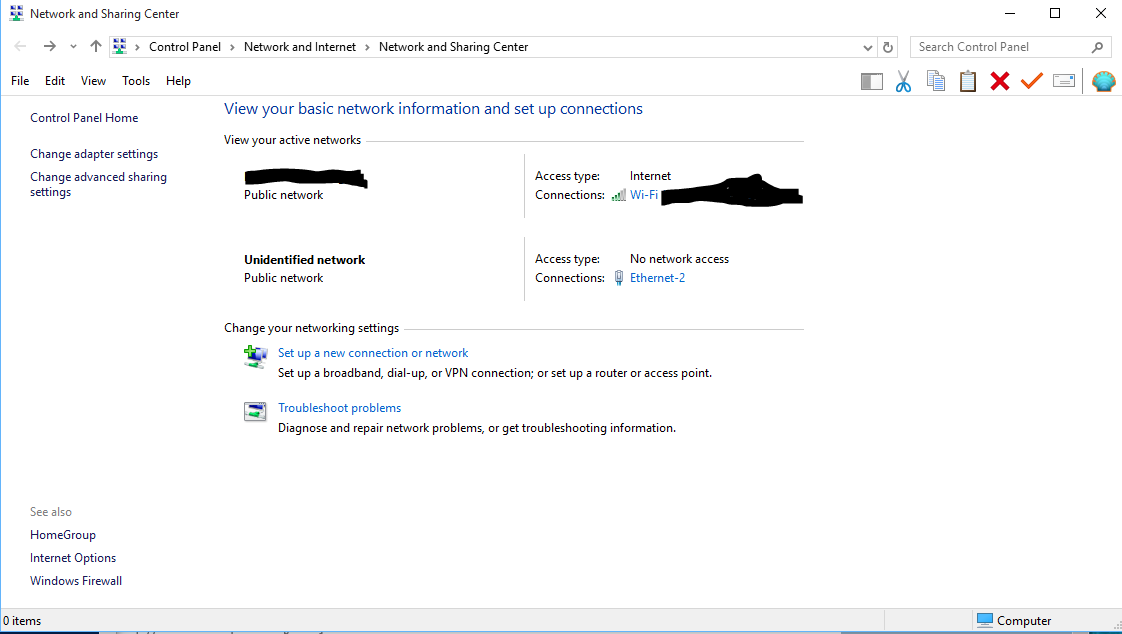
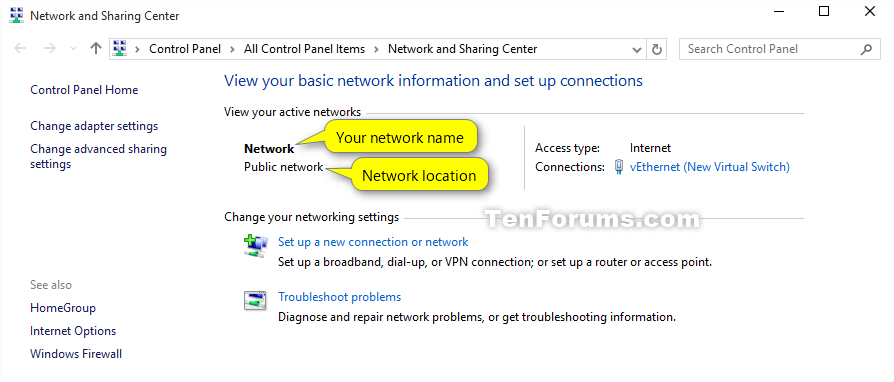
Now go to "Network and Sharing Center" in Control Panel Network and Internet, you can see Network has become "Private network".
If you are an advanced user in your Windows 10 computer, this method will be easier for you to switch the network type between public and private.
Step 1: Press Win + R to open Run box and type in "regedit". Press Enter and click "Yes" to run Registry Editor.
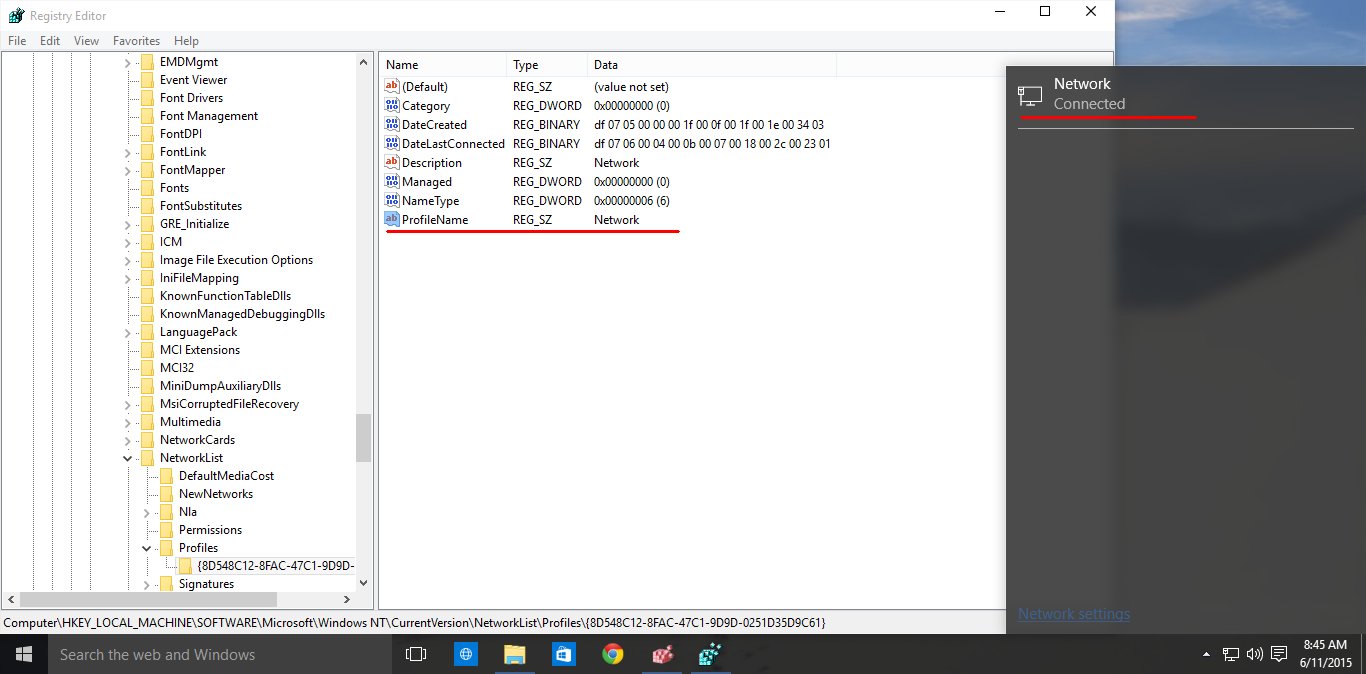
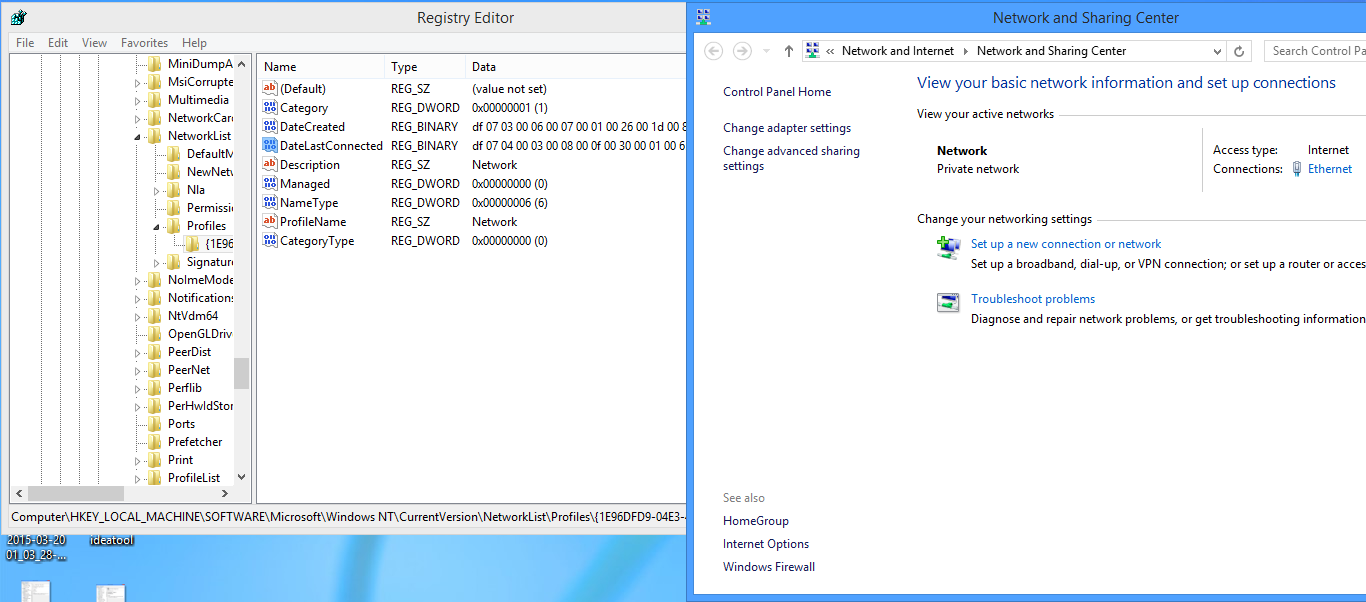
Step 2: Go to following key in Registry Editor.
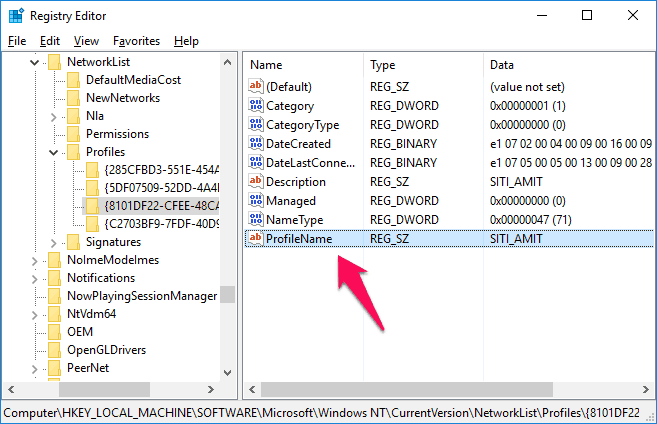
HKEY_LOCAL_MACHINE\SOFTWARE\Microsoft\Windows NT\CurrentVersion\NetworkList\Profiles
Under the Profiles key, probably you find some sub-keys. Select each one and look for the ProfileName key in the right hand pane. You would know the name of the network and recognize which network you want to change type.
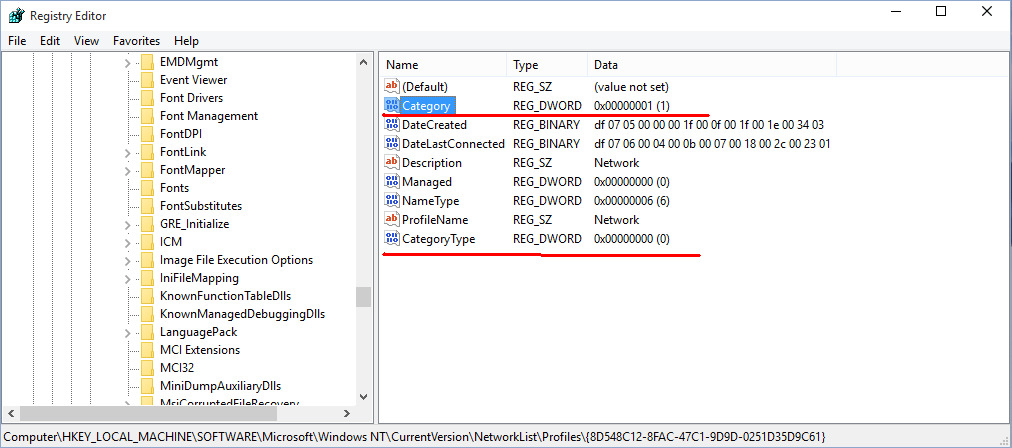
Then change network type by changing Category DWORD value in the right hand pane. Value data can be 0 for Public network, 1 for Private network and 2 for Domain network.
Just double click the Category and you can change the value data to 1. Connected network would be private.
If you have administrative rights, local group policy editor also could help to change your network type in Windows 10 computer.
Step 1: Open Local Group Policy Editor.
Click the Start button, type gpedit.msc then press Enter key. Or type "gpedit.msc" in Run box and press Enter.
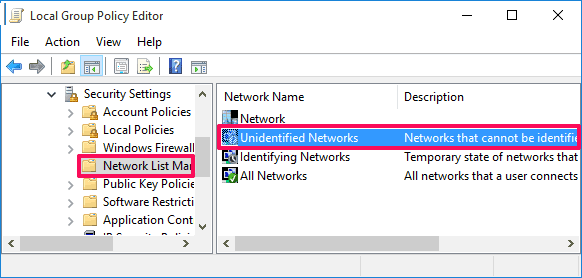
Step 2: Change unidentified networks location type from "Not Configured" to "Private".
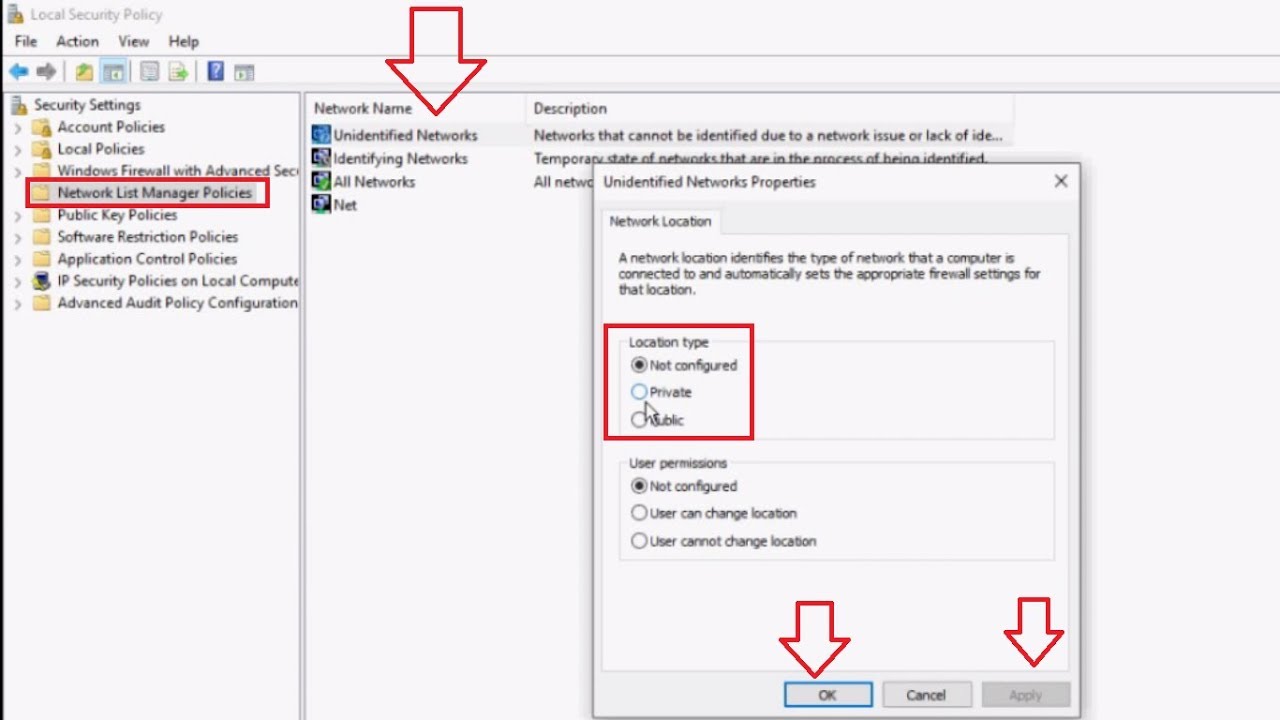
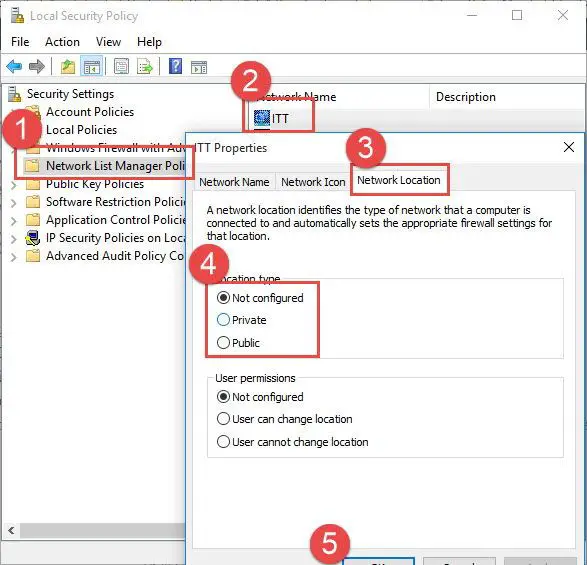
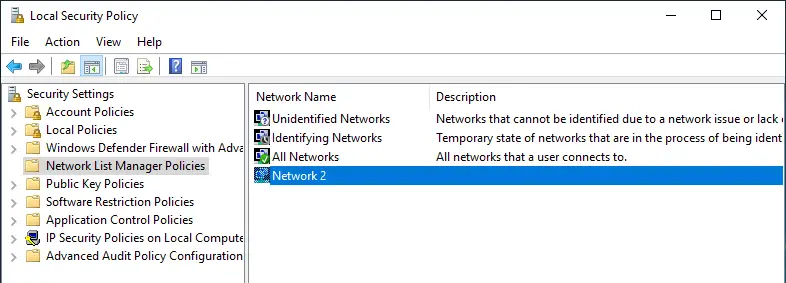
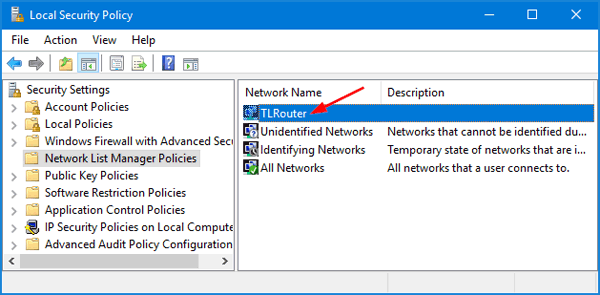
1. Click Computer Configuration\Windows Settings\Security Settings\Network List Manager Policies. And double-click on Unidentified Networks.
2. Change Location type from Not configured to Private then click OK to close the window.
When you are logged in Windows 10 with administrator or account with admin privileges, you can make full use of PowerShell command to change network type, not only from public to private.
Step 2: Change network type with powershell commands.
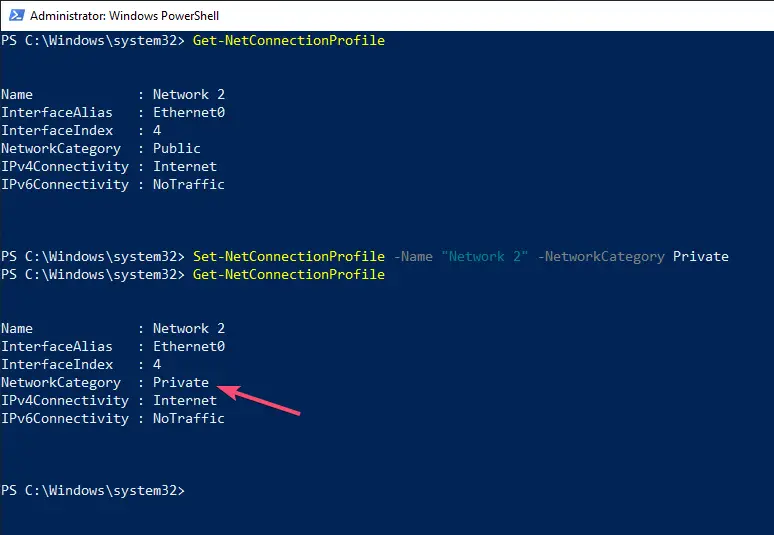
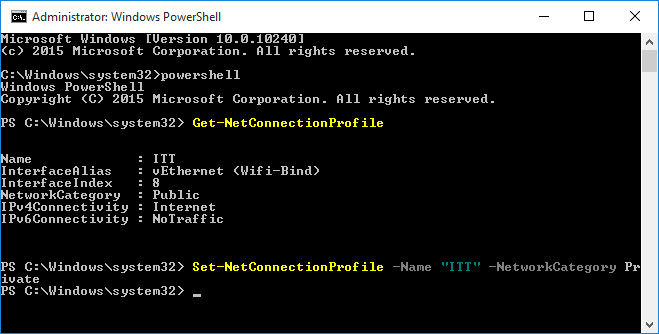
1. Type following command in CMD window to get network name.
2. Find the network name you want to change its type and run the following command.
Set-NetConnectionProfile -Name "Network" -NetworkCategory Private
The "Network" is the name of your network and you can change the -NetworkCategory switch value to Public or Private.
Note: If you want to change the network type from private to public, just need to type command below instead.
Set-NetConnectionProfile -Name "Network" -NetworkCategory Public
iSunshare is dedicated to providing the best service for Windows, Mac, Android users who are in demand for password recovery and data recovery.
Copyright © 2021 iSunshare Studio All Rights Reserved.
Sign in so we can serve you better.
When you first connect to a Wi-Fi network, you can set it as public or private—depending on the network and what you want to do:
Private network. Use this for networks you trust, such as a network at home or work. When a network is set to private, your PC is discoverable to other devices on the network, and you can use your PC for file and printer sharing.
Public network. Use this for networks you connect to when you’re out and about, such as a Wi-Fi network at a coffee shop. Your PC will be hidden from other devices on the network, and you can’t use your PC for file and printer sharing.
After you connect to a network the first time, you can change it to public or private at any time.
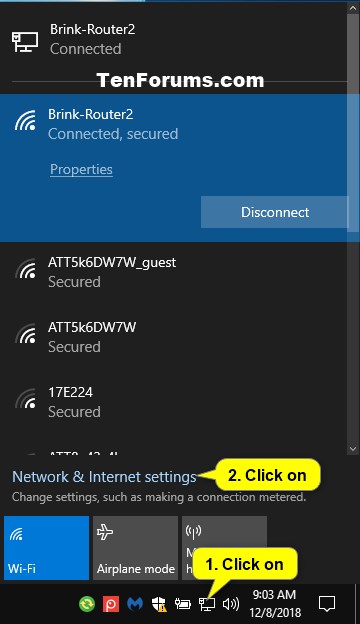
On the right side of the taskbar, select the Wi-Fi network icon.
Select the Wi-Fi network you want to connect to, then select Connect.
Type the network password, and then select Next.
When asked if you want your PC to be discoverable to other devices on the network, do one of the following:
To set it as a private network where your PC will be discoverable to other devices on the network, choose Yes.
To set it as a public network where your PC won’t be discoverable to other devices on the network, choose No.
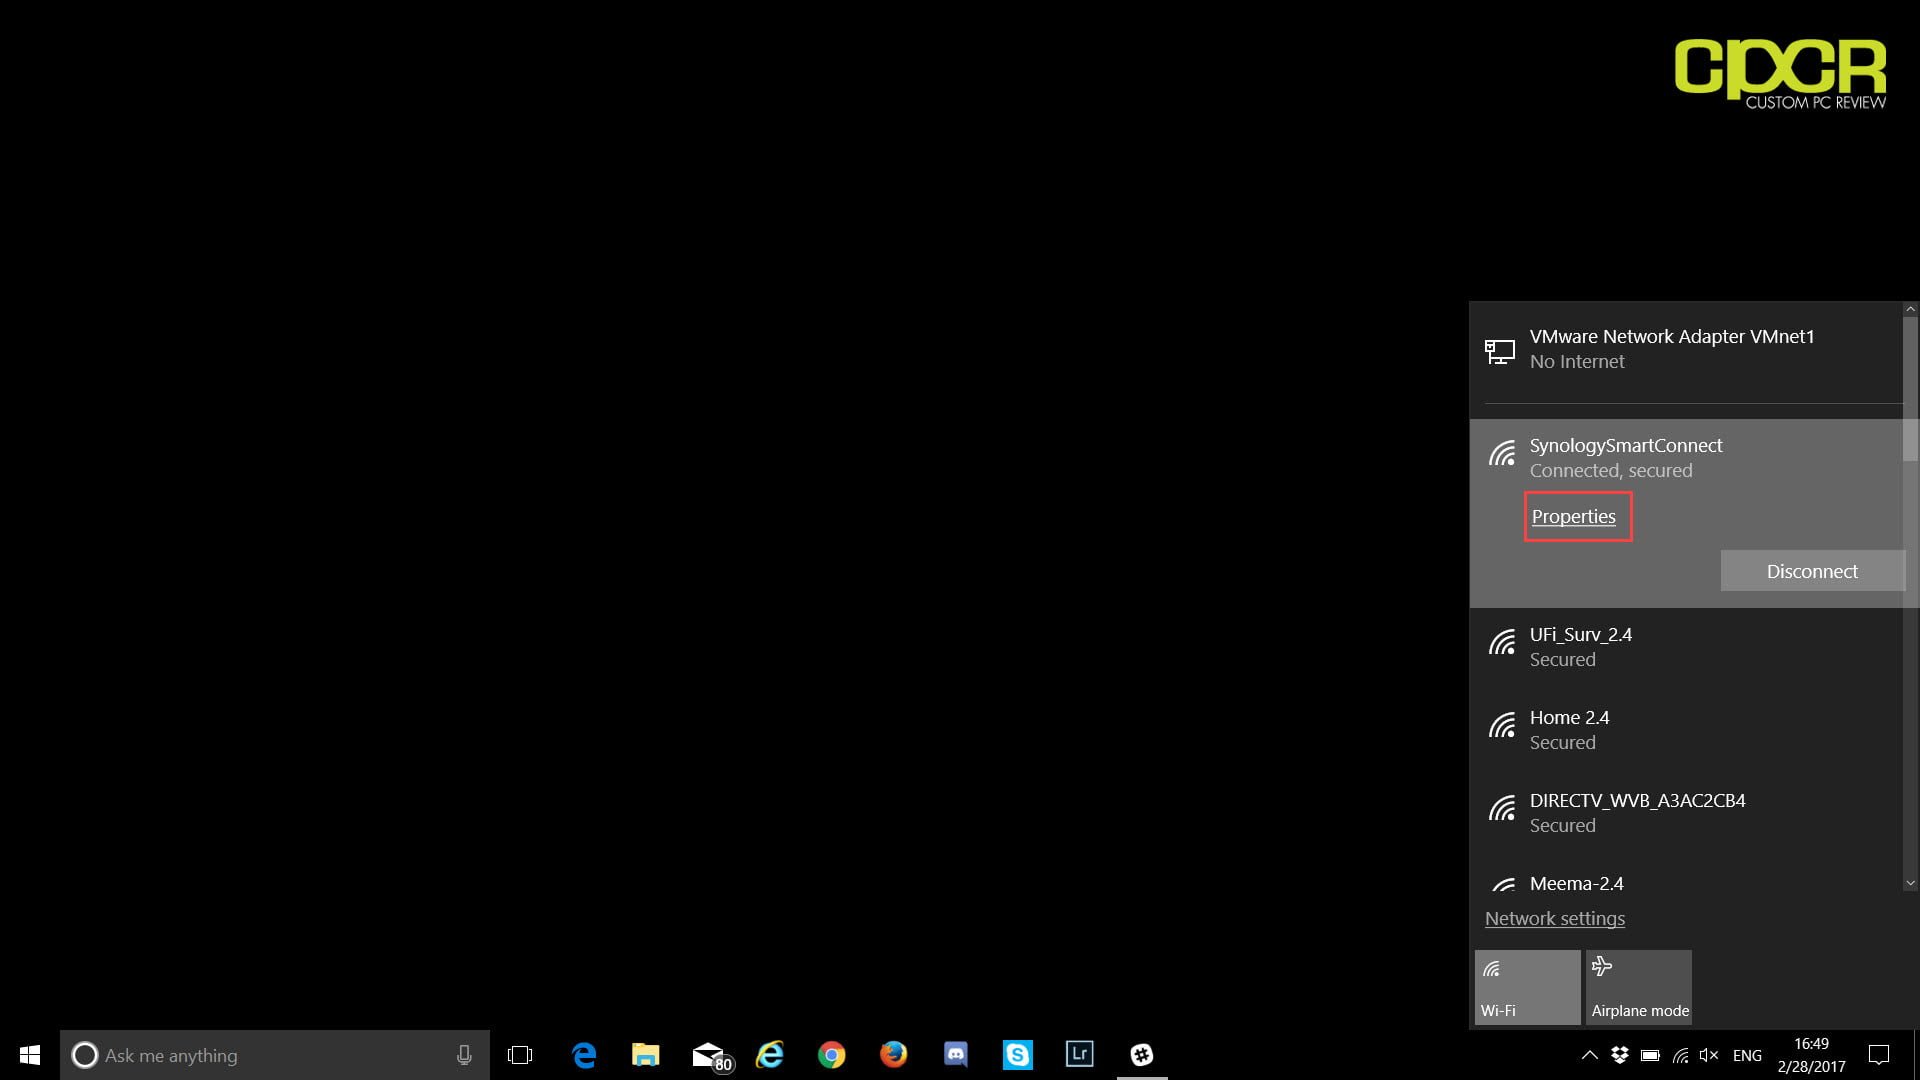
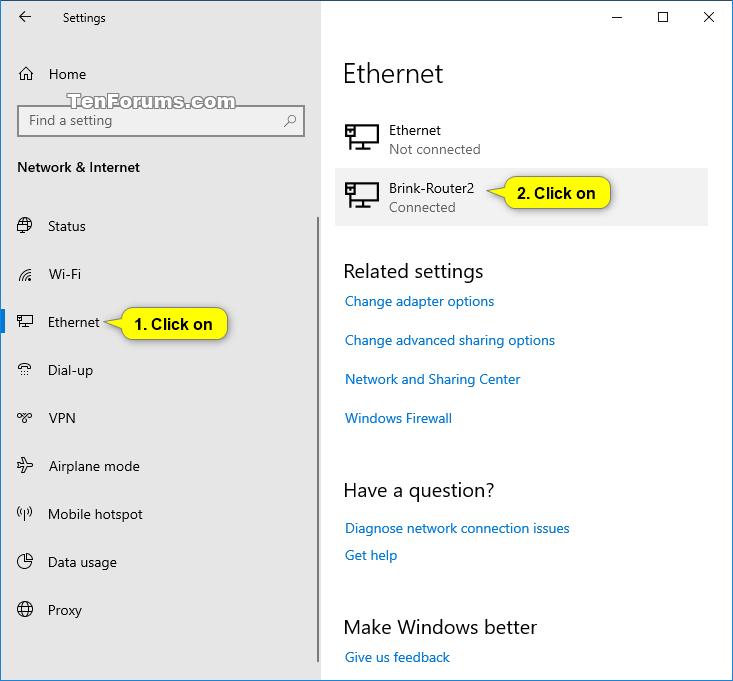
On the right side of the taskbar, select the Wi-Fi network icon.
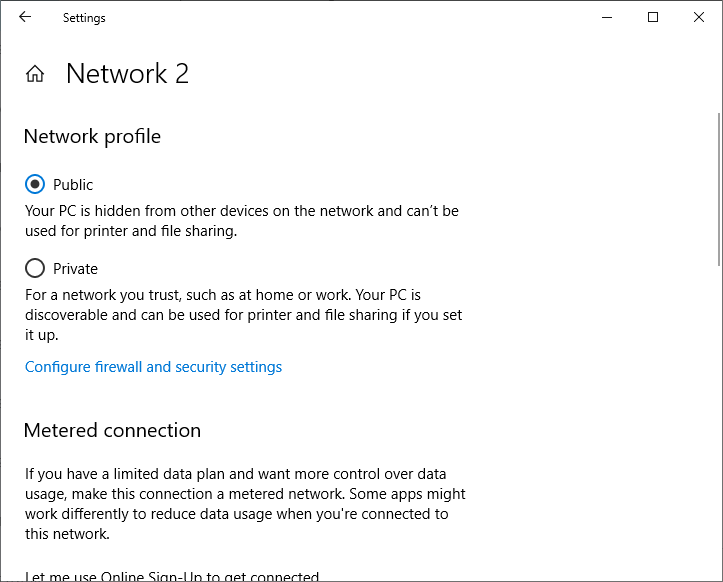
Under the name of the Wi-Fi network that you’re connected to, select Properties.
Under Network profile, select Public or Private.
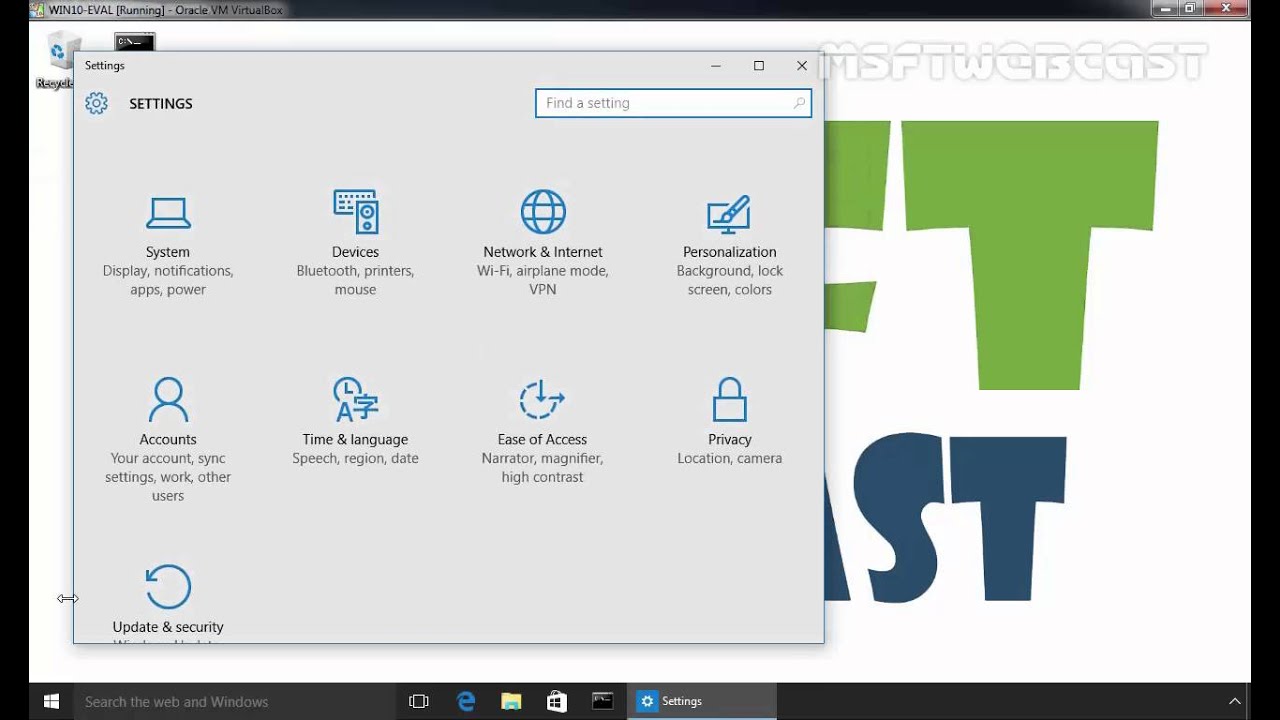
Note: To use these steps to set a network to public or private, your PC must be running Windows 10 Version 1709 or later. To see which version of Windows 10 your device is currently running, select Start , then select Settings > System > About .
A subscription to make the most of your time
Great! Any other feedback? The more you tell us, the more we can help. How can we improve? The more you tell us, the more we can help.
Sandra Teen Model Y
Video Bdsm Ass
Porno Cocks Xxx
Sex Vidyo Balshoy Jopa
Cute Young Body
How to Change Network from Public to Private in Windows 10
Make a Wi-Fi network public or private in Windows 10
Change a Network Location from Public to Private on Windows
How to Change Public to Private Network Profile in Windows 10
How to change the Windows 10 network location to private ...
How to Make a Network Connection Private in Windows …
How to Change Network from Public to Private in Windows 10
Windows 10 change wireless network from public to private ...
Windows 10 Change Network To Private